Меренгові тістечка “Безе” – це класичні легкі і повітряні кондитерські вироби з ніжною кремовою начинкою. Традиційні безе мають білий чи кремовий колір, але я вирішила зробити порцію кольорових і порцію шоколадних. Вони вийшли неймовірно смачними – хрусткими, легкими та ніжними.
Для меренгових тістечок:
- Яєчні білки – 100 г (прибл. 3 великих яйця)
- Цукор – 200 г
- Лимонний сік – 1 ч.л
- Сіль – 1/4 ч.л
- Харчові барвники – будь-яка кількість кольорів (за бажанням)
- Темний кондитерський шоколад – біля 50 г
Для начинки:
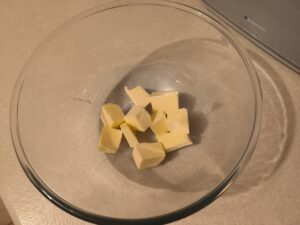
- Масло (м’яке, кімнатної температури) – 150 г
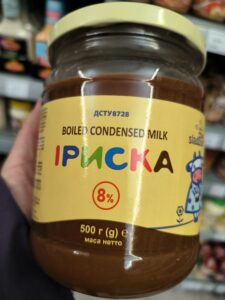
- Варене згущене молоко (або дульсе де лече) – 240 г
Метод пояснено і проілюстровано нижче. Смачного!
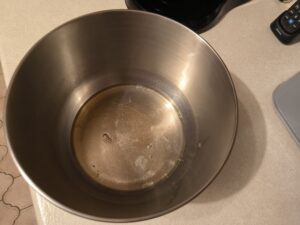
Помістіть яєчні білки у миску для збивання…
… додайте лимонний сік…
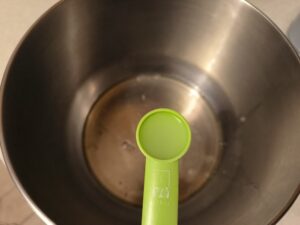
… додайте сіль…
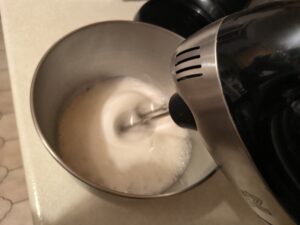
… і збийте до утворення піни.
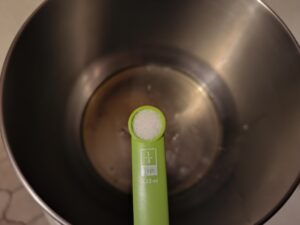
Почніть додавати цукор – поступово, декількома порціями…
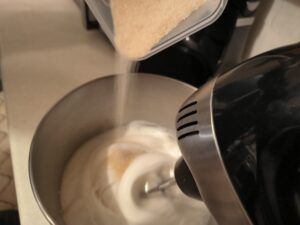
… і продовжуйте, поки не додасте весь цукор.
Продовжуйте збивання, поки не досягнете твердих піків. Ось як виглядають тверді піки…
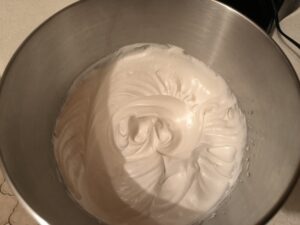
… і коли ви перевернете миску, меренга залишиться в ній.
Тепер підготуйте два кондитерські мішки і дві насадки. Я використовую насадку “Відкрита зірка”, або 2DZ…

… і насадку “Закрита зірка”, або 2D.

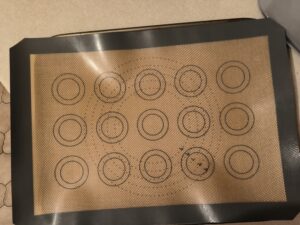
Ви також можете підготувати деко для випікання і покрити його силіконовим килимком. Якщо такого килимка немає, можете замінити його на пергамент.
Тепер можна додати харчові барвники (за бажанням).
Якщо у вас гелеві барвники, вони будуть у невеликих тюбиках.
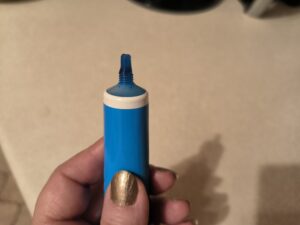
Проведіть відкритим тюбиком зсередини кондитерського мішка, від насадки до краю мішка, щоб намалювати кольорову лінію.
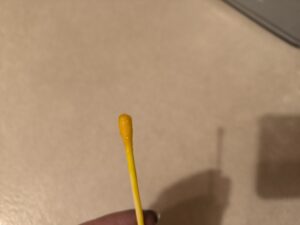
Якщо у вас рідкі харчові барвники, ви можете нанести барвник на ватну паличку і потім провести нею всередині кондитерського мішка.
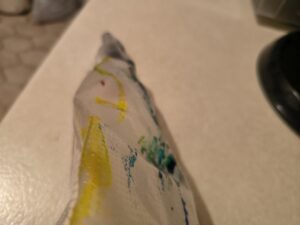
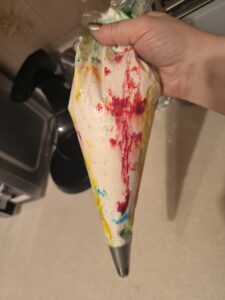
Ви можете намалювати скільки хочете ліній різних кольорів. Коли ви закінчите, кондитерський мішок виглядатиме ось так.
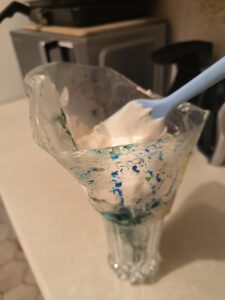
Тепер візьміть високу склянку і помістіть в неї кондитерський мішок насадкою донизу.
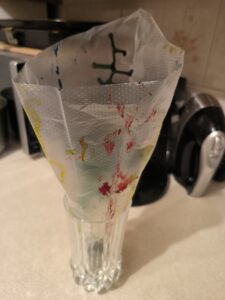
Опустіть кінці кондитерського мішка донизу, на зовнішні боки склянки.
Заповніть кондитерський мішок білково-цукровою сумішшю.
Знов підніміть кінці кондитерського мішка і обережно проштовхніть суміш донизу ложкою.
Підніміть кондитерський мішок зі склянки, тримаючи за кінці.
Почніть висаджувати меренгові тістечка на силіконовий килимок. Ви можете зробити їх різного розміру і форми.
Спочатку я висадила декілька круглих тістечок.
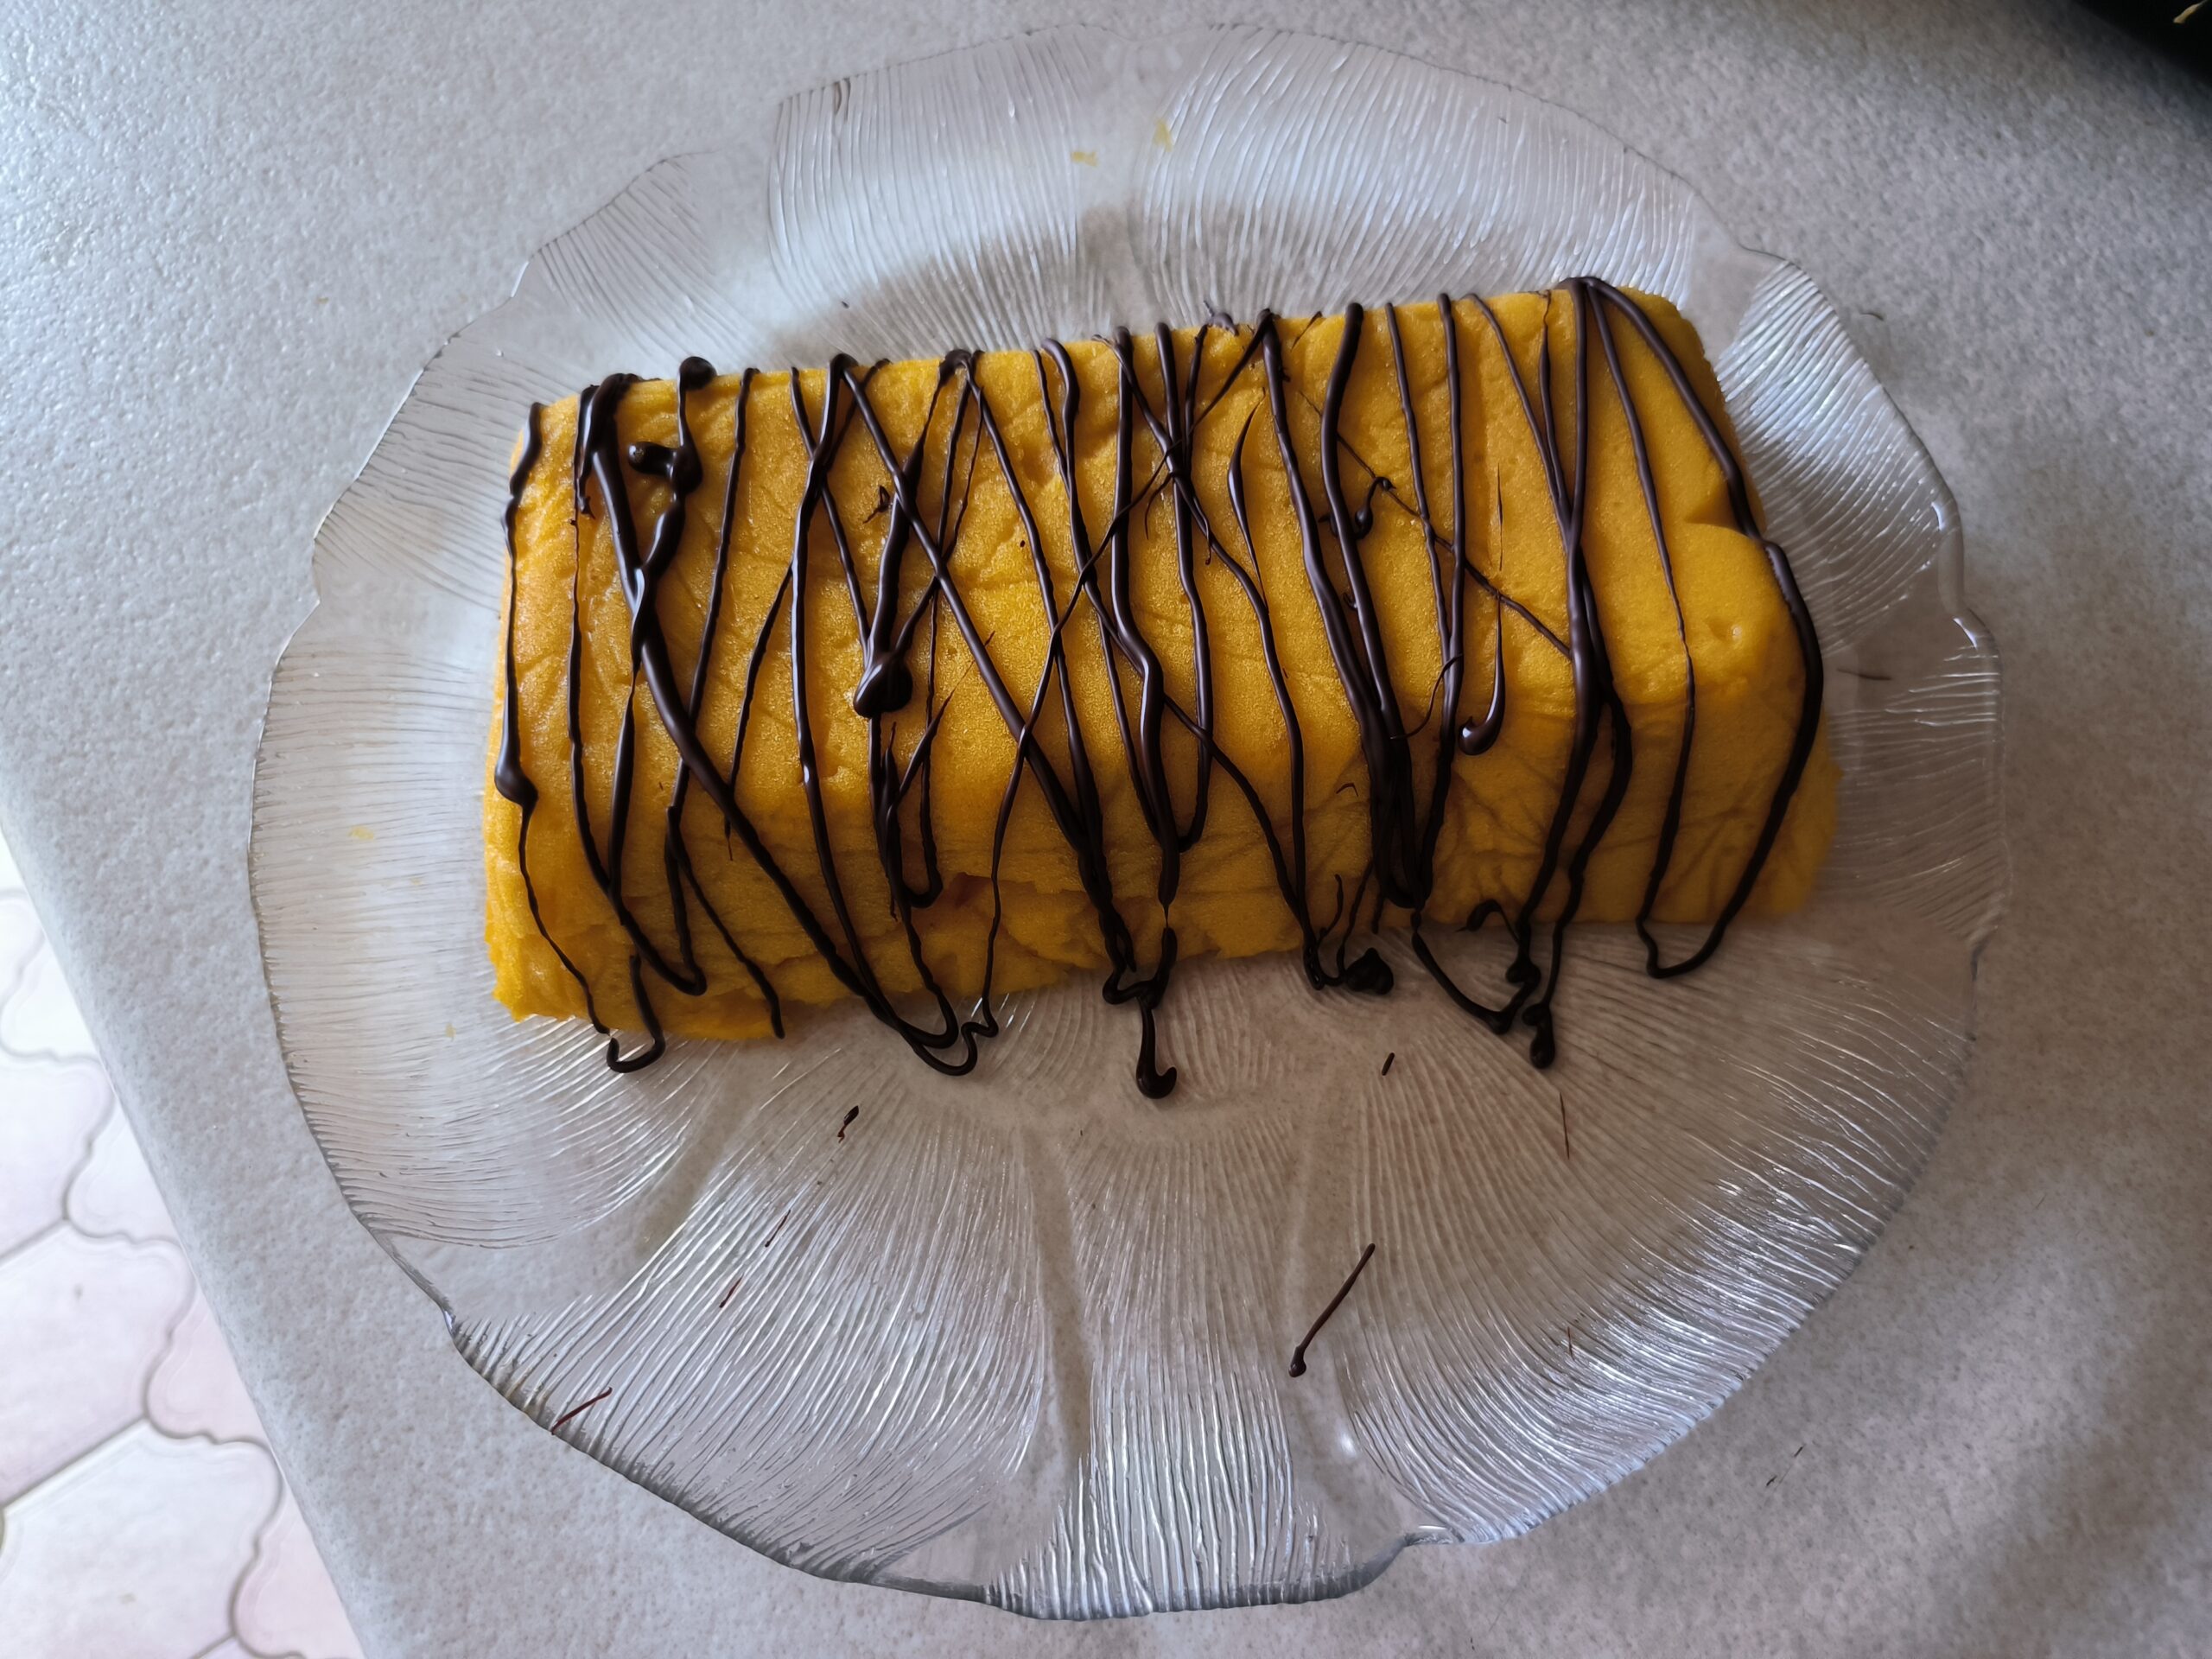
Потім я висадила декілька тістечок довгастої форми.
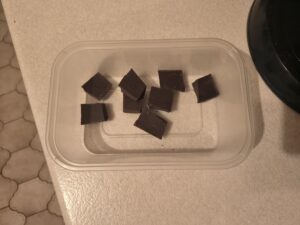
Тепер ви можете додати шоколад (за бажанням).
Помістіть кондитерський шоколад у контейнер або у посуд, придатний для нагрівання у мікрохвильовці…
… і розтопіть у мікрохвильовці короткими інтервалами по 20-30 секунд.
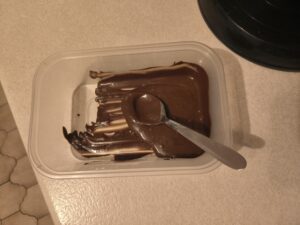
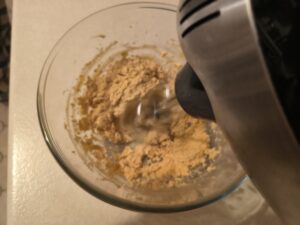
Додайте розтоплений шоколад до білково-цукрової суміші…
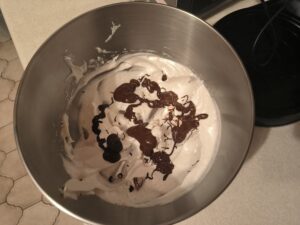
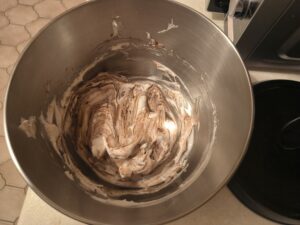
… і вмішайте. Немає потреби вмішувати дуже ретельно; ви можете це зробити 2-3 рухами, щоб залишилися смуги. Ви можете додати ще менше шоколаду, якщо ви хочете лише декілька шоколадних смуг у суміші.
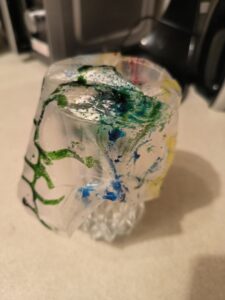
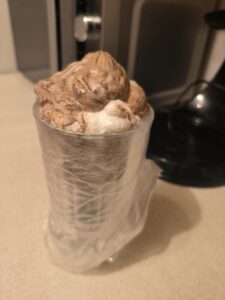
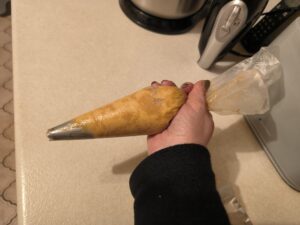
Помістіть другий кондитерський мішок у високу склянку насадкою вниз, і заповніть його шоколадною сумішшю в той же спосіб, що і з райдужною сумішшю.
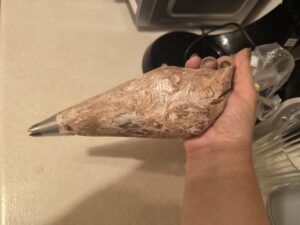
Обережно проштовхніть шоколадну суміш вниз до насадки, і підніміть мішок зі склянки, тримаючи за кінці.
Висадіть шоколадні меренгові тістечка на силиконовий килимок.
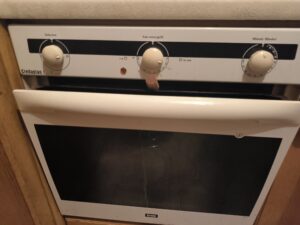
Поставте деко у духовку. Вам не потрібно попередньо розігрівати духовку, ви можете її ввімкнути тоді, коли поставите туди деко.
Випікайте тістечка у духовці з конвекцією на 80 C протягом 4-4.5 годин, якщо ви хочете, щоб основний колір ваших тістечок був білим, або на 100 C протягом 2-2.5 годин, якщо ви не проти, щоб основний колір тістечок став кремовим. Ви можете тримати тістечка в духовці коротший період часу, якщо ви хочете, щоб тістечка були м’якшими і менш хрусткими.
Щоб покращити циркуляцію повітря, трохи привідчиніть дверцята духовки і закріпіть їх в такому становищі (я використала для цього винний корок).
Коли меренгові тістечка готові, вони легко відходять від силіконового килимка, і їхній низ твердий і сухий.
Тепер приготуйте начинку.
Для начинки я використовую українське варене згущене молоко. Якщо його немає в магазинах за вашим місцем проживання, ви можете використати дульсе де лече (dulce de leche), популярний латиноамериканський десерт з карамелізованого молока.
Помістіть м’яке масло (кімнатної теператури) у миску для збивання…
… додайте варене згущене молоко (також кімнатної температури)…
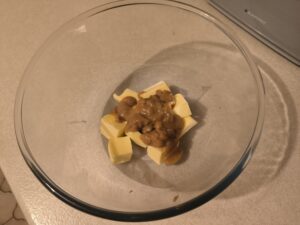
… … і збийте до однорідності.
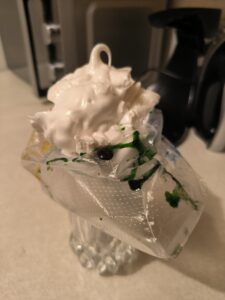
Коли начинка готова, помістіть її в кондитерський мішок з будь-якою насадкою, яку ви хочете…

… і підніміть мішок зі склянки, тримаючи за кінці.
Висадіть начинку на низ одного меренгового тістечка…

… …і накрийте його іншим тістечком, “склеївши” їх разом.

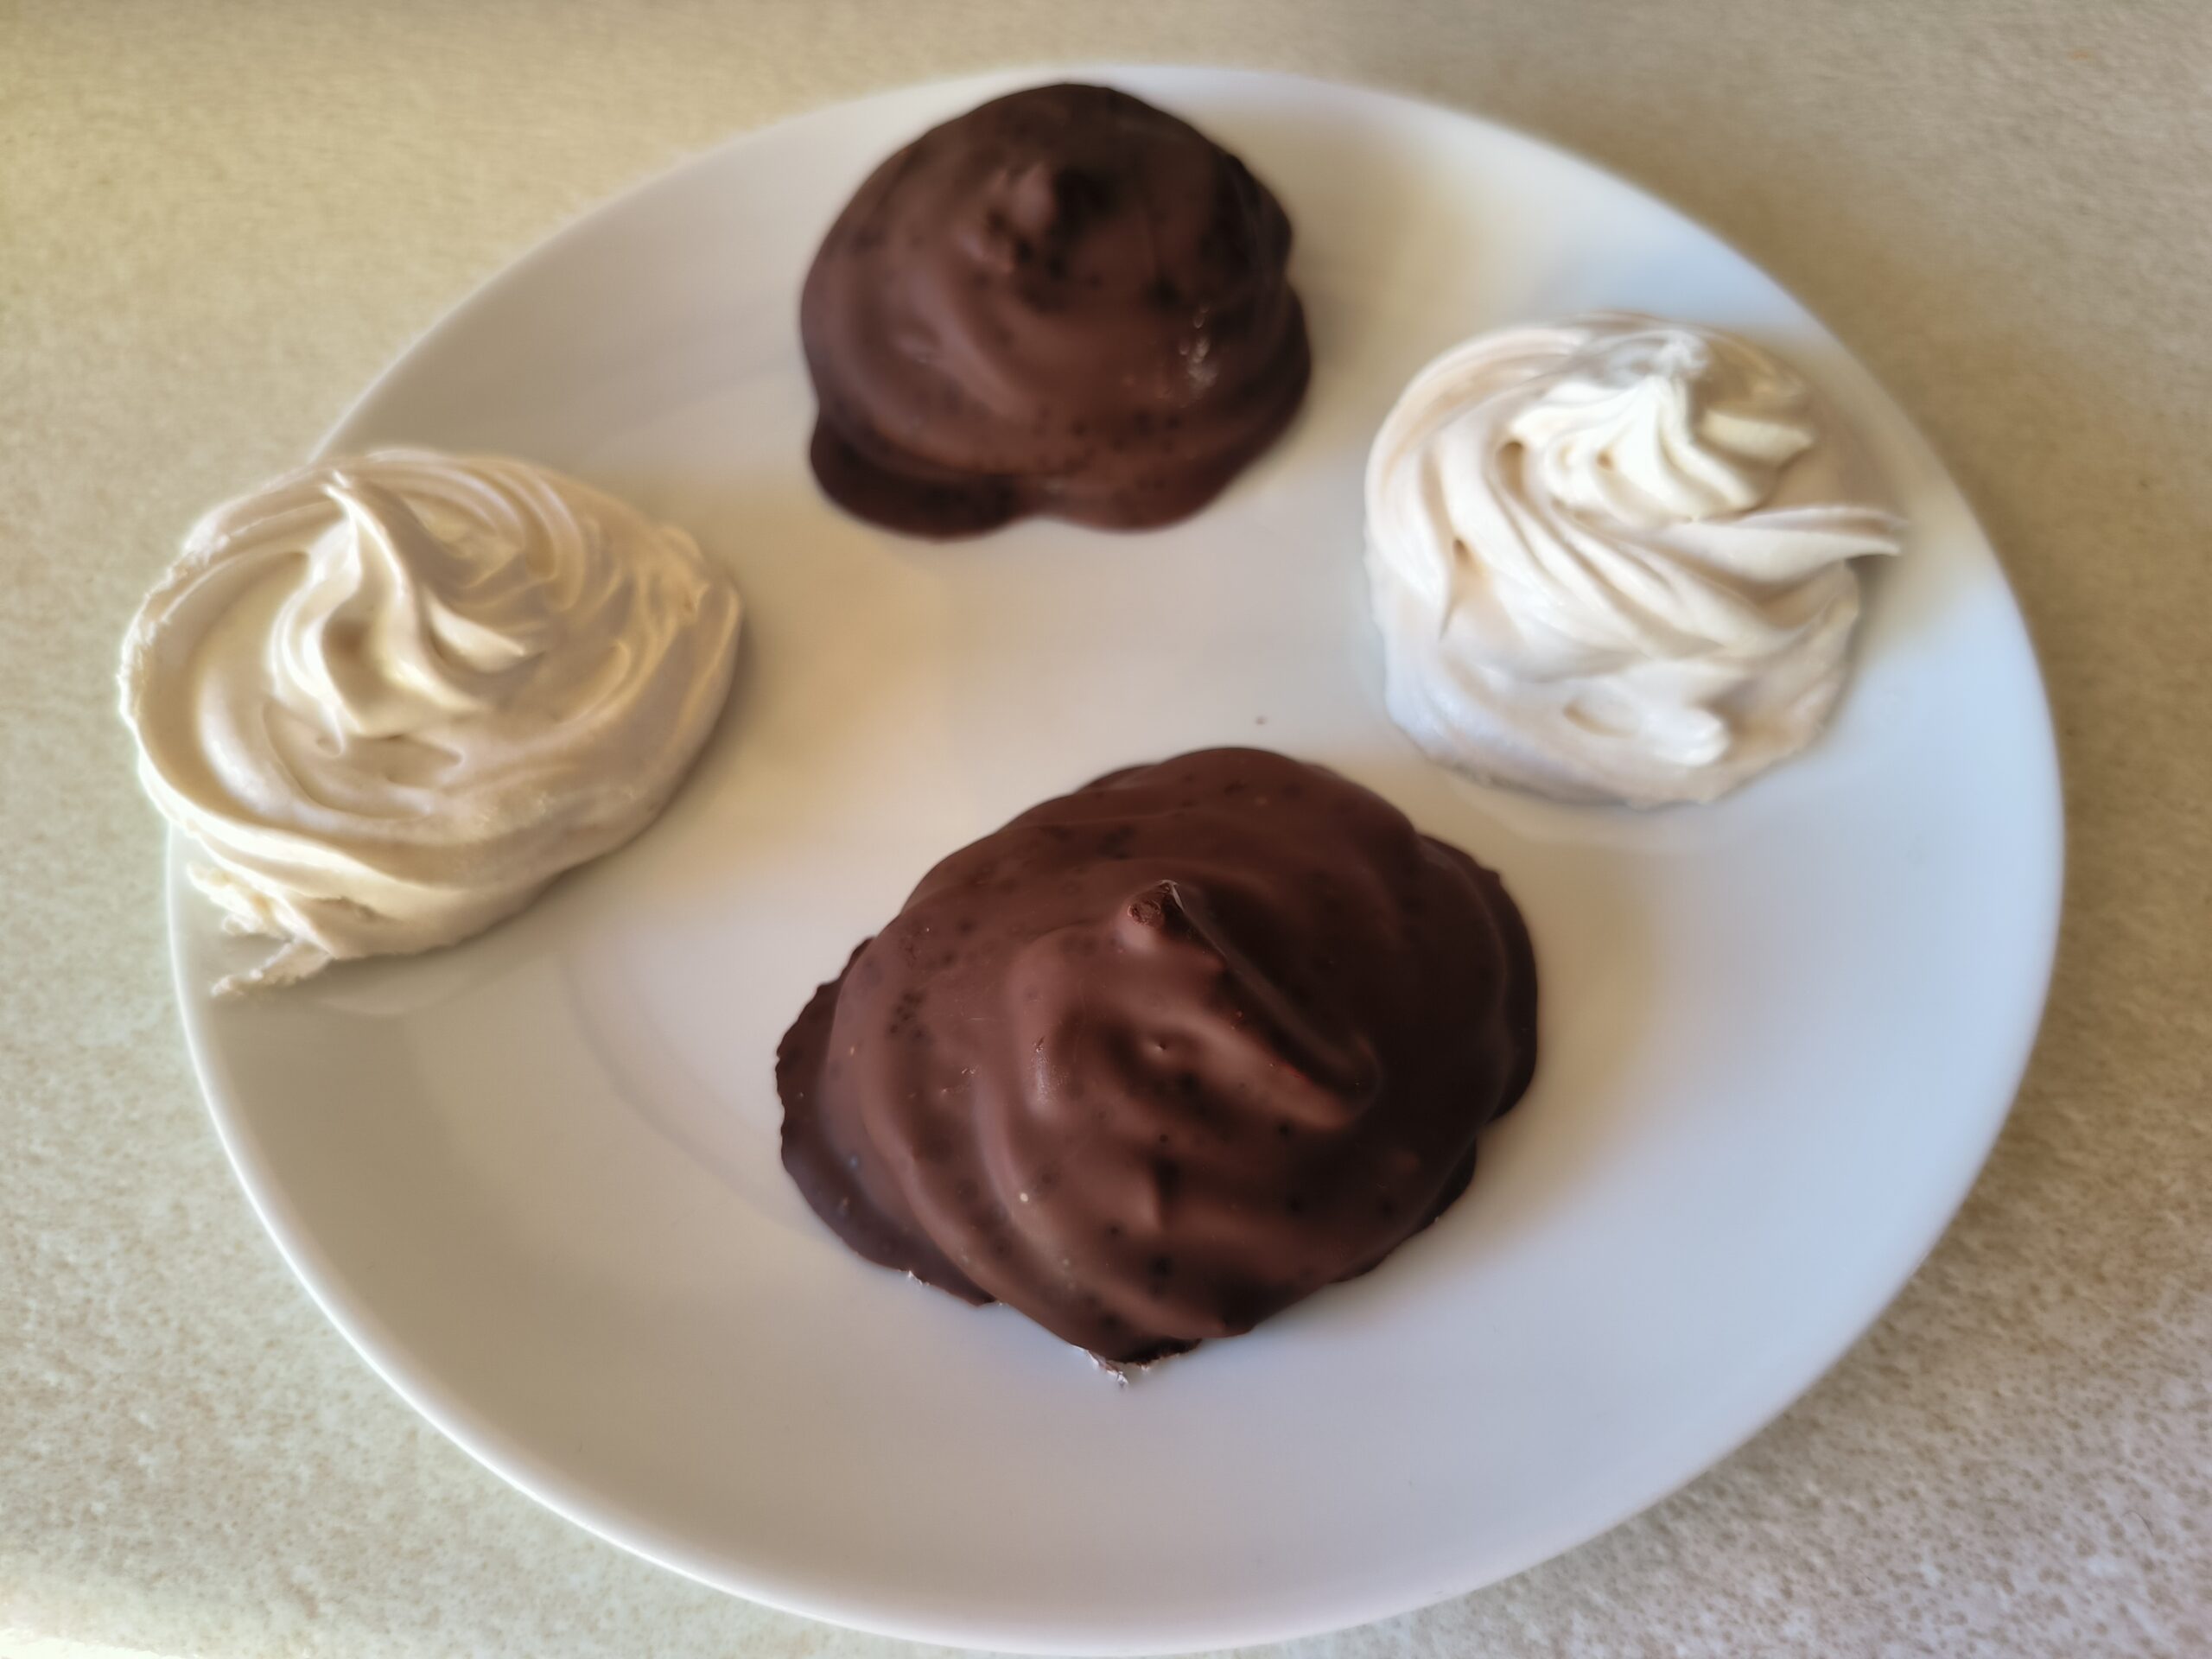
Ваші кольорові і шоколадні меренгові безе готові 🙂
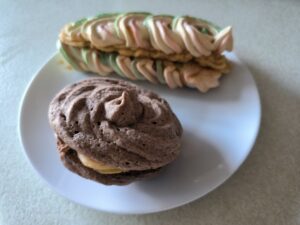
Мої кольорові безе вийшли хрусткими…
… а шоколадні – м’якшими. Але обидна види безе дуже смачні 🙂