
Baiser meringues are classic light and airy meringue confections with soft scrumptious cream filling. The traditional Baiser meringues are white or cream in colour, but I wanted to make a portion of the more colourful ones, and another portion of chocolate ones. They turned out absolutely delightful – crispy, smooth and delicate.
For meringues:
- Egg whites – 100 g (of approx. 3 large eggs)
- Sugar – 200 g
- Lemon juice – 1 tsp
- Salt – 1/4 tsp
- Food colourings – as many as you want (optional)
- Dark cooking chocolate – about 50 g
For filling:
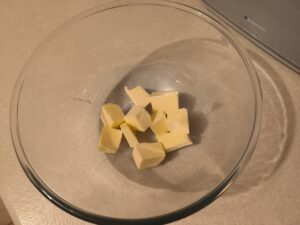
- Butter (soft, of room temperature) – 150 g
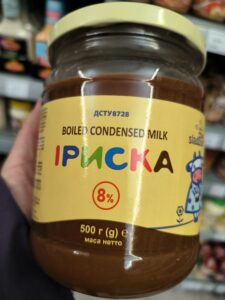
- Boiled condensed milk (or dulce de leche) – 240 g
Method is explained and illustrated below. Enjoy!
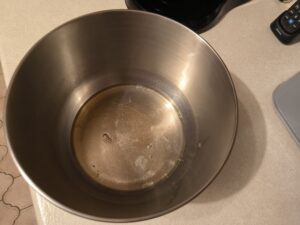
Place egg whites into a whisking bowl…
… add lemon juice…
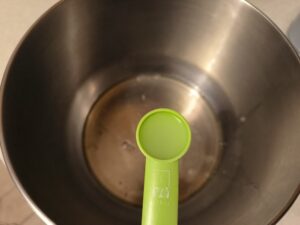
… add salt…
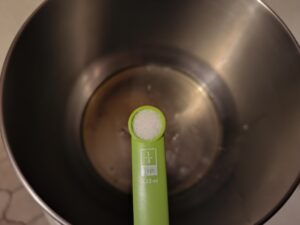
… and whisk until foamy.
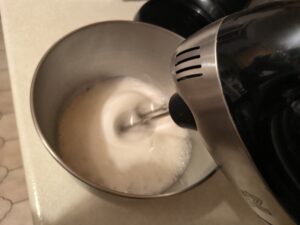
Start adding sugar – gradually…
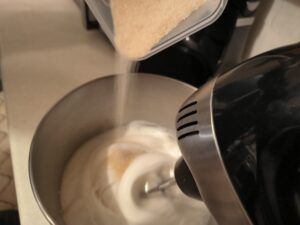
… and continue whisking until you’ve added all the sugar.
Keep whisking until you’ve reached hard peaks. That’s what hard peaks look like…
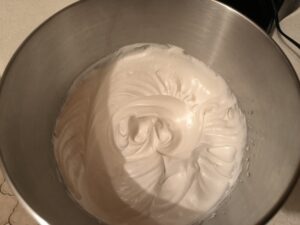
… and when you turn your bowl upside down, they stay in the bowl.
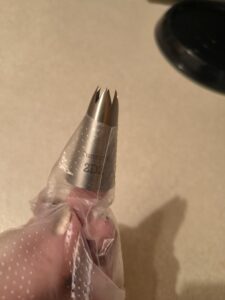
Now, prepare two piping bags and two nozzles. I use a “Open star” nozzle, or 2DZ…
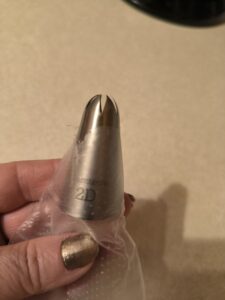
… and a “Closed star” nozzle, or 2D.
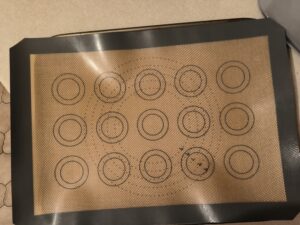
You can also prepare a baking tray and cover it a silicone baking mat. Alternatively, you can use some parchment paper.
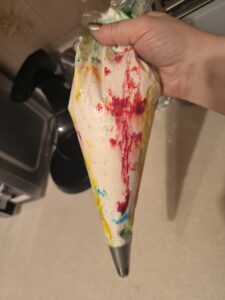
Now, you can apply the food colourings (optional).
If you have gel food colourings, they would be in small tubes.
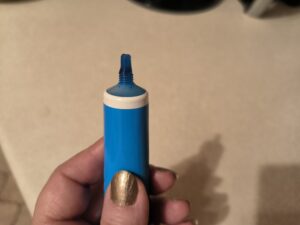
Run the tube along a piping bag from inside, from the nozzle to the edge of the bag, to draw a coloured line.
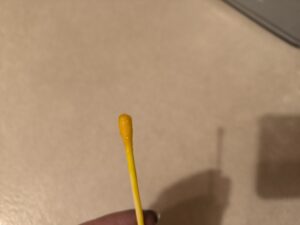
If you have liquid food colourings, you can apply them on a cotton bud, and then run a cotton bud along the piping bag.
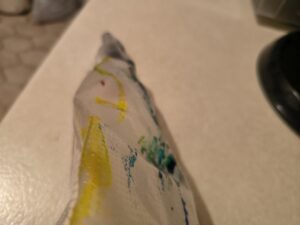
You can draw lines of as many colours as you want. Once you’ve done that, your piping bag will look like this.
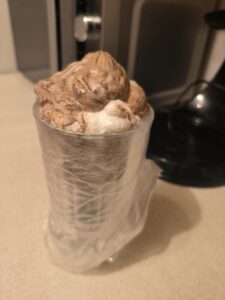
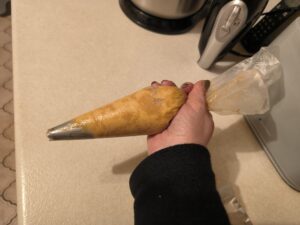
Now, get a tall glass and place the piping bag into it, nozzle down.
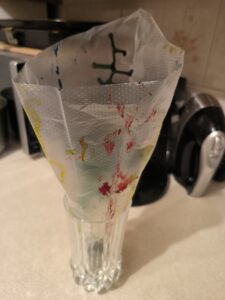
Pull the edges of a piping bag down, over the sides of the glass.
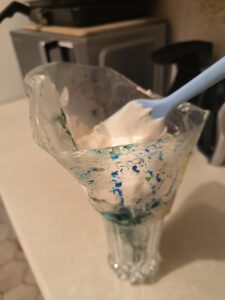
Fill the piping bag with the egg white and sugar mixture.
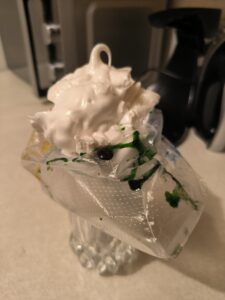
Pull the edges of the piping bag up, and gently push the mixture down with a spatula.
Lift the bag from the glass, holding the edges together.
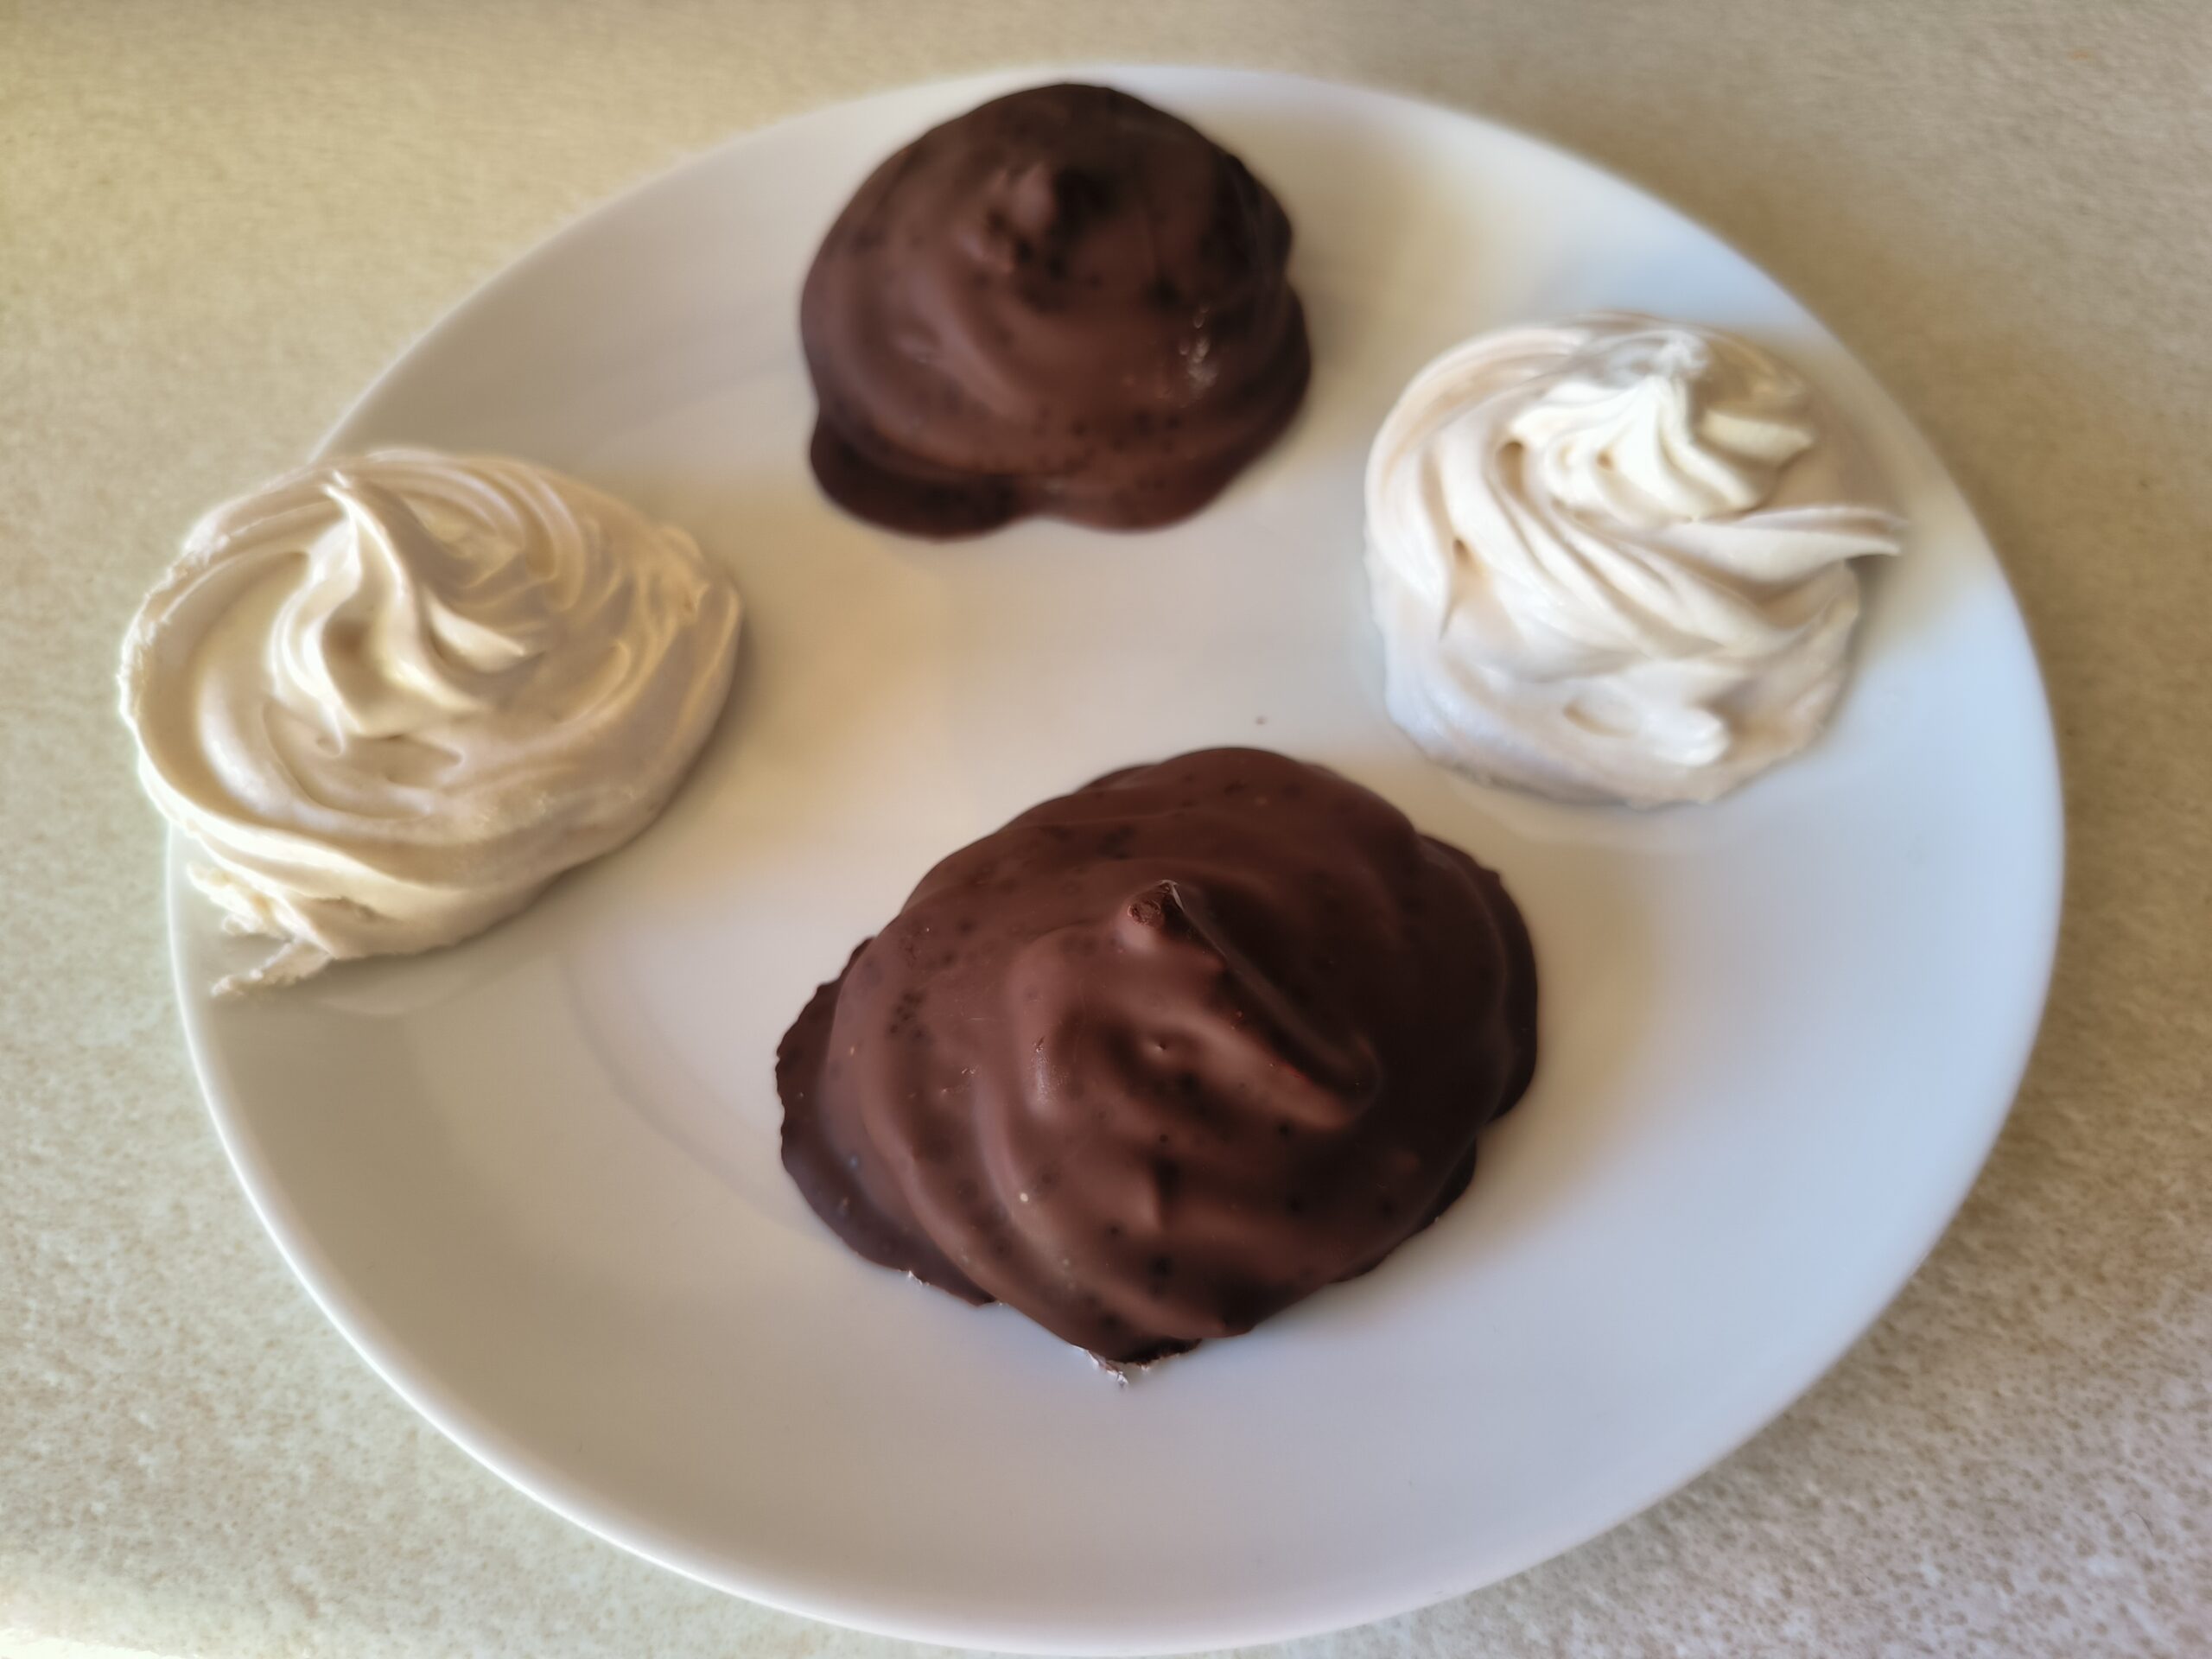
Pipe out meringue cakes onto the baking mat. You can make them of different shapes and sizes.
First, I piped out several round ones.
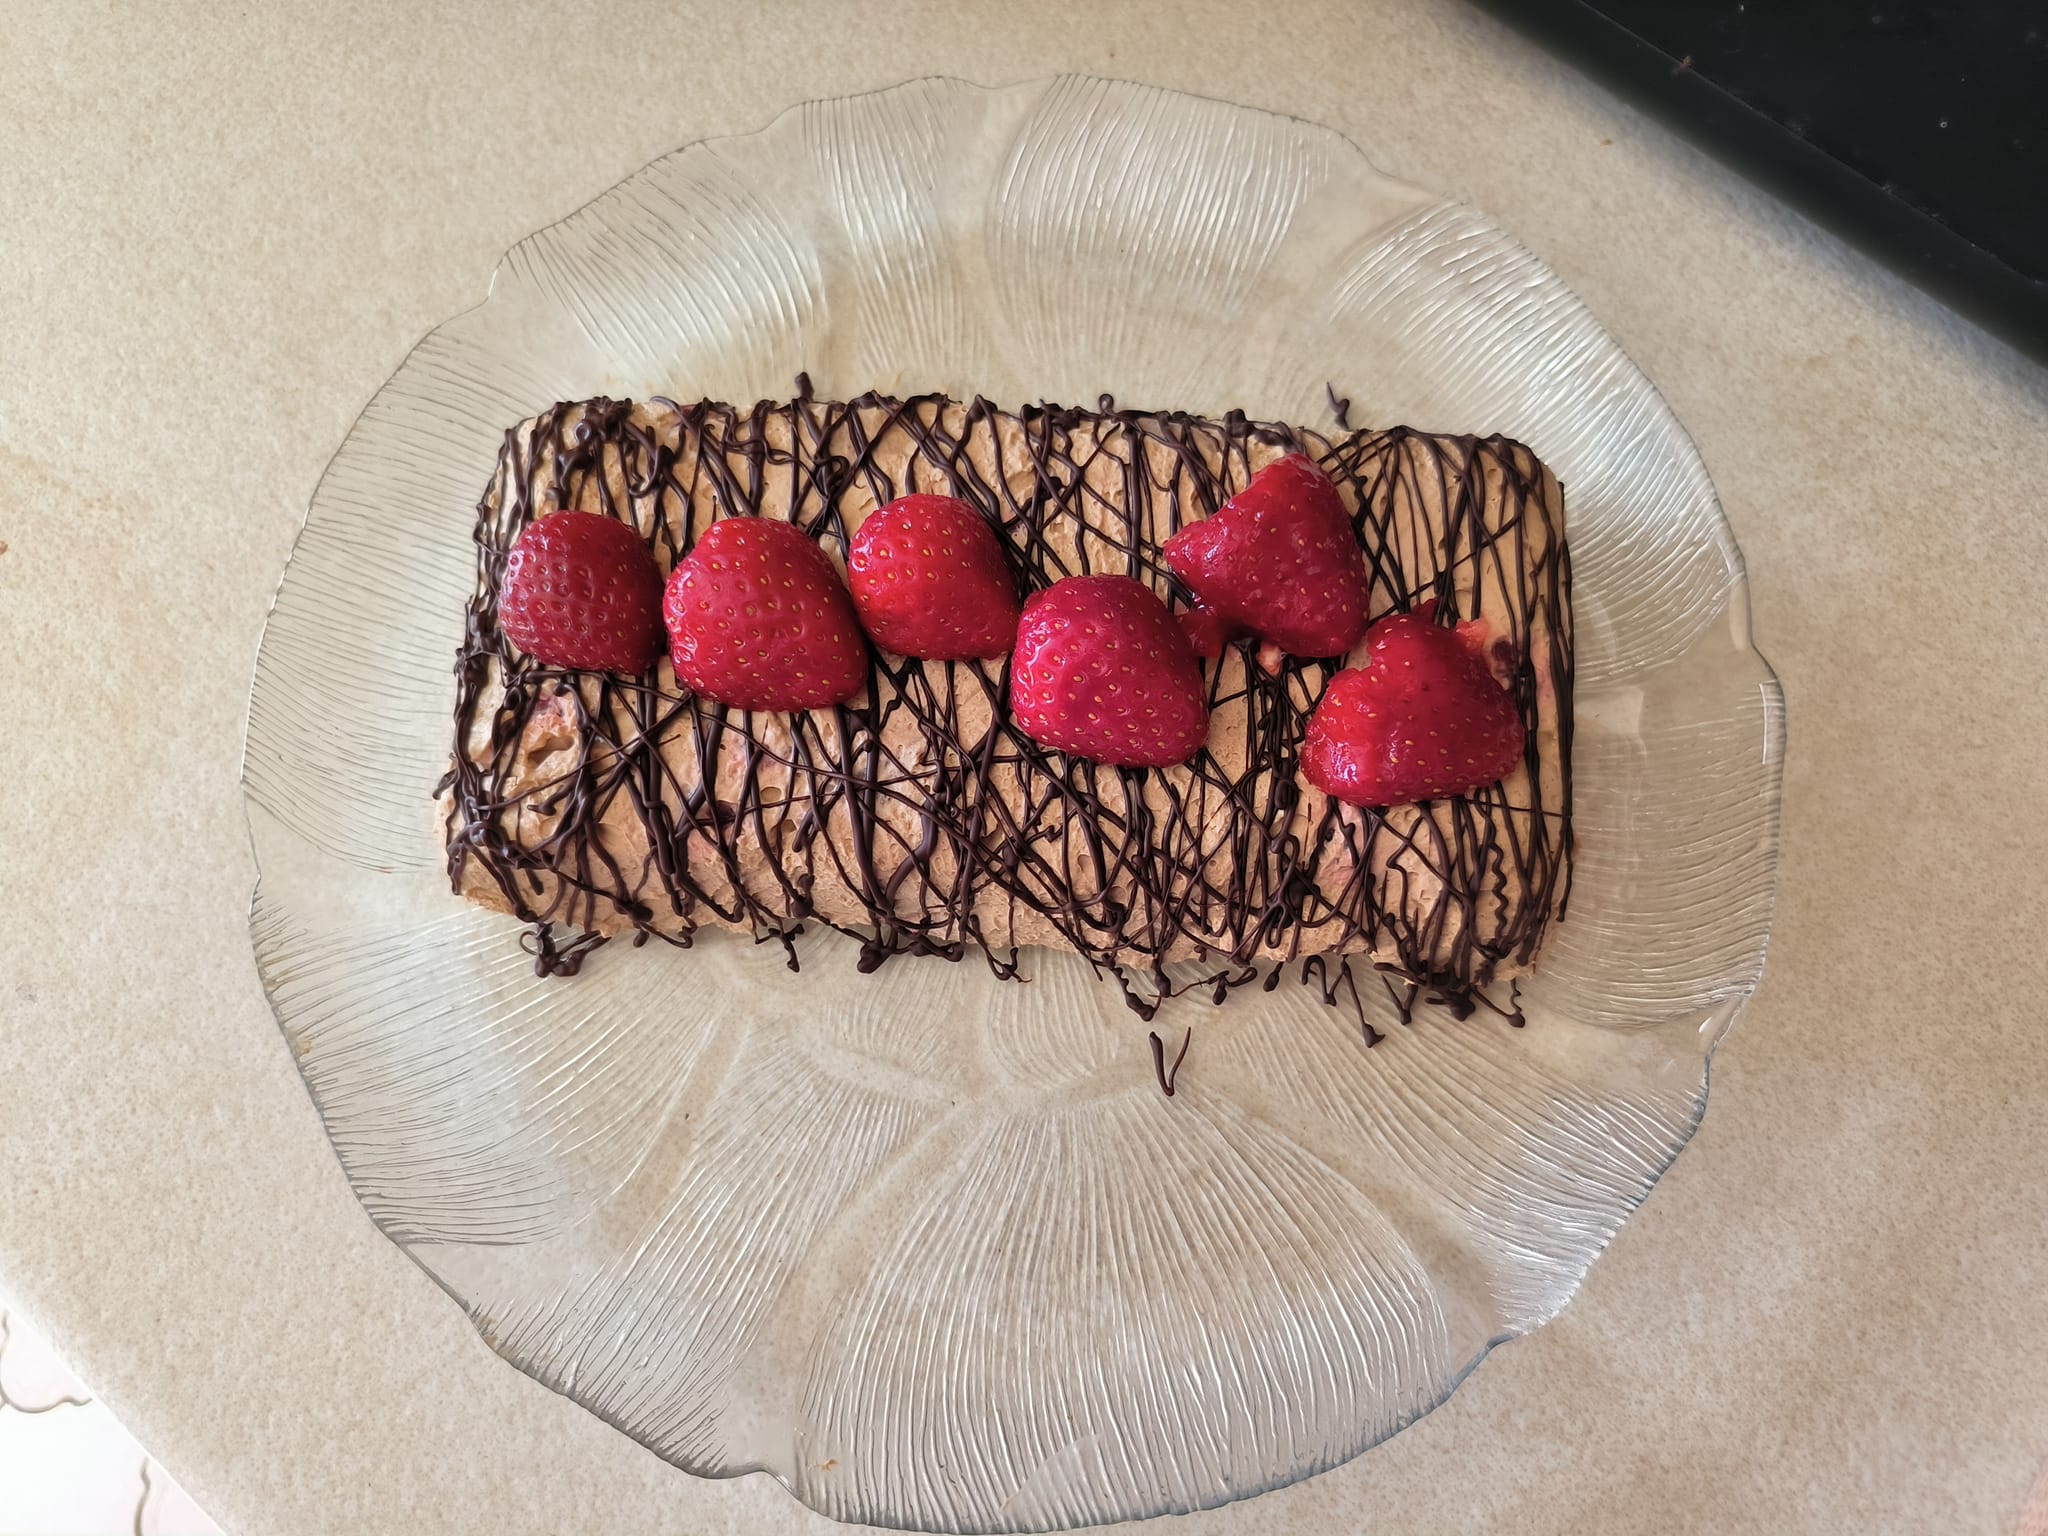
Then I piped out some cakes of a longer shape.
Now, you can apply chocolate (optional).
Place the cooking chocolate into a container or a microwaivable dish…
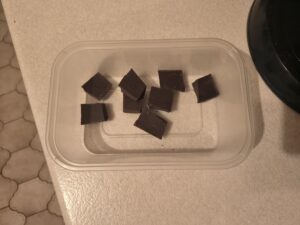
… and melt in in a microwave, in short sessions of 20-30 seconds each.
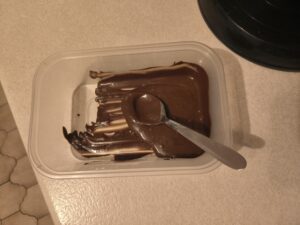
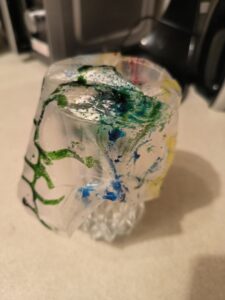
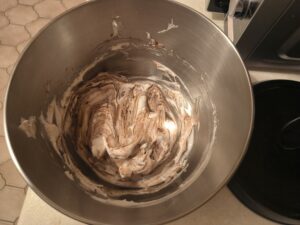
Add the chocolate to the egg whites and sugar mixture…
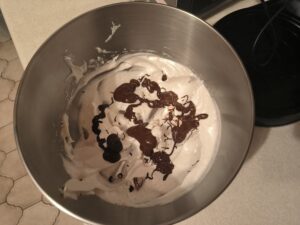
… and mix it in. There’s no need to mix very thoroughly; you can do it in 2 or 3 motions, leaving streaks. You can add even less chocolate, if you want just a few chocolate streaks in the mixture.
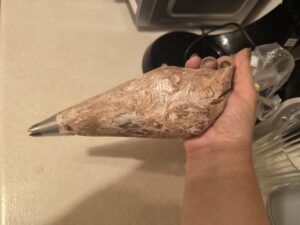
Place the 2nd piping bag into a tall glass, nozzle down, and fill it in with the chocolatey mixture, in the same way as the rainbow mixture.
Gently push the mixture down to the nozzle, and lift the bag from the glass, holding the edges together.
Pipe out the chocolate meringue cakes onto the baking mat.
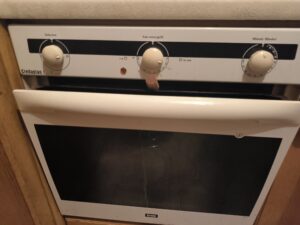
Place the baking tray into the oven. You don’t need to pre-heat it, you may switch it on only once you’ve put the tray in.
Bake the meringues in a fan-assisted oven at 80 C for about 4 to 4.5 hours, if you want the main colour of the rainbow meringues white, or at 100 C for about 2 to 2.5 hours, if you don’t mind main colour turning cream. You may keep the meringues in the oven for a shorter period of time, if you want the meringues softer and less crispy.
To improve air circulation, open the oven door a little and leave it ajar, fixing it in that position (I used a wine cork).
Once the meringue cakes are baked, they come off the baking mat easily, and their bottom is hard and dry.
Now, make the filling.
I am using Ukrainian boiled condensed milk for the filling. If it’s not available where you are, you can use dulce de leche, the popular Latin American confection.
Place the softened butter (of room temperature) into the whisking bowl…
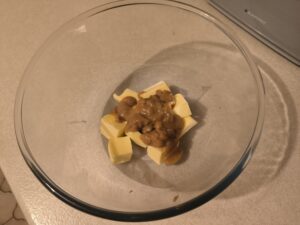
… add the boiled condensed milk (also of room temperature)…
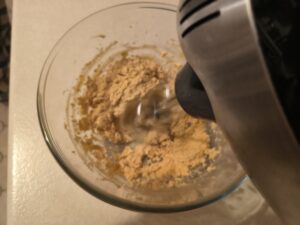
… and whisk together, until fully combined.
Once the filling is ready, place it into a piping bag with any nozzle you like…

… and lift it from the glass, holding the edges together.
Pipe the filling onto the bottom of one meringue cake…

… and cover it with another meringue cake, “gluing” it together.

And your rainbow and chocolate Baiser meringues are ready 🙂
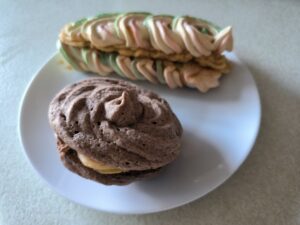
My rainbow meringue cakes turned out crispy…
… and the chocolate ones are softer. And both kinds are delicious! 🙂
Your recipe for Baiser meringues sounds absolutely delightful! I love the idea of adding colorful and chocolate variations to the classic meringue. The detailed instructions make it seem approachable, even for someone who might be new to baking. I’m curious, how do you ensure the meringues stay crispy and not chewy after baking? The piping technique with the colored lines is so creative—do you have any tips for someone trying this for the first time? Also, what’s your favorite way to serve these meringues? Would you pair them with a specific dessert or enjoy them on their own?
I absolutely love the idea of colorful and chocolate Baiser meringues! It’s such a creative twist on the traditional recipe. The step-by-step method is so clear and easy to follow, especially with the illustrated instructions. I’ve always been a bit nervous about making meringues, but this makes it seem less intimidating. Do you think the chocolate version would pair well with a citrus-flavored filling? Also, how do you ensure the meringues stay crispy after adding the filling? I’d love to try this recipe but might experiment with different flavor combinations. What’s your favorite filling to use in Baiser meringues?