I’m excited and happy to present my recipe of Kyiv cake. It’s a legendary Ukrainian cake with a very distinctive taste like no other. Of course the original recipe is kept a secret. However, the recipe below recreates the taste of a classic Kyiv cake.
The process of creating it has its secrets, which I’m going to reveal. Also, if you ever make a classic Kyiv cake following this recipe, please pay special attention to the points I mark as “Important”. If you neglect to stick to those, you might put the entire process in jeopardy. Also, please note the process of making the cake is labour-intensive and time consuming. The best timing to make the cake is over the course of 2 days.
- Nuts (best to use cashew nuts) – at least 200 g (you might add extra 50 g for decorating the cake)
- Egg whites – 8
- Lemon juice – 1 tsp
- Sugar – 160 g
- Vanilla sugar – 40 g
- Cornflour – 4 heaped tbsp
- Egg yolks – 8
- Sugar – 200 g
- Butter – approx. 330 g
- Milk – approx. 270 g
- Vanilla sugar – 8 g
- Brandy – 2 to 2 1/2 tbsp
- Cocoa powder – 2 to 2 1/2 tbsp
- Red/pink, blue and green food colourings – a few drops to achieve desired colour shades
- Crumbs off meringue layers and/or small amount of crushed cashew nuts
Classic secret 1: traditionally, the meringue layers for the Kyiv cake are made from so-called old, or “fermented”, egg whites. To “ferment”, egg whites should remain in room temperature overnight.
Therefore, to “ferment” the whites, prepare them the night before you start making the meringue layers.
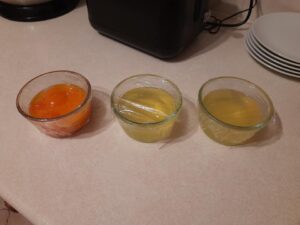
So, start with separating whites from yolks. I use this chicken-shaped separator – it’s very cool! 🙂
Place whites and yolks into separate bowls. Put the yolks in the fridge and leave the whites in the room temperature to “ferment” overnight.
IMPORTANT: each meringue layer should be baked in a separate tray. If you have 2 baking trays and enough space in the oven to bake 2 layers at the same time, then make meringue batter for both layers at the same time. If you can bake only 1 layer at a time – please divide the recipe for meringue layers in 2, and make the batter for each layer immediately before baking it, as whisked egg whites don’t sit well on a counter, they will subside.
I have only 1 round baking tray, therefore, I will be making meringue batter for each layer separately. That’s why I put egg whites for each layer in separate bowls.
You can also prepare nuts the night before making the meringue layers.
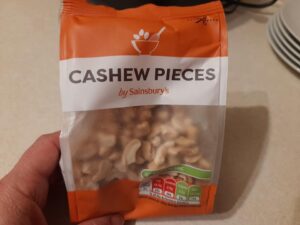
I use the cashew nuts already chopped into pieces, – it’s easier to chop them into even smaller pieces.
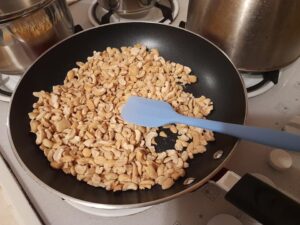
Dry the nuts up at a small heat, constantly stirring, until they turn dryer and slightly golden in colour. Do not let them roast.
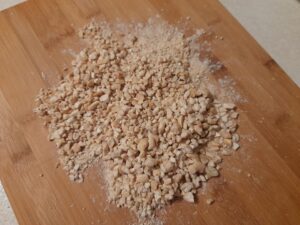
Wait until the nuts cool down, then crush them into even smaller pieces. You may use a blender or a rolling pin. You don’t have to crush them into powder – just into small pieces.
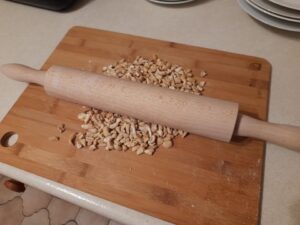
Your crushed nuts should looks like this.
The following day, start making the meringue layers. I am making one layer at a time.
Whisk the whites until you get soft peaks.
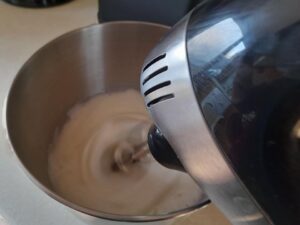
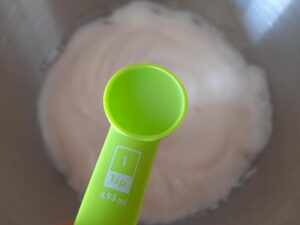
Add lemon juice…

… a teaspoon of it.
Start adding the sugar – gradually, in portions. Add a small portion first, and whisk it in.
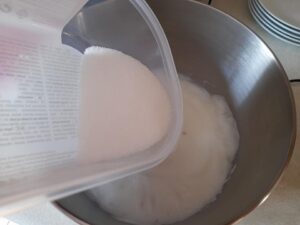
Add vanilla sugar…
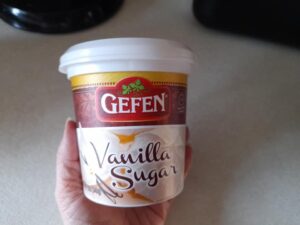
… and another portion of regular sugar, and whisk it in. Do it until you use all the sugar up, and reach stiff peaks.
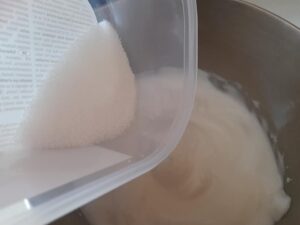
Add nuts…
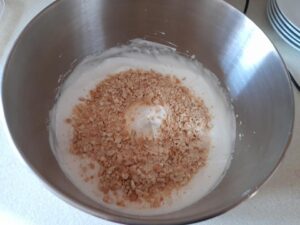
… and cornflour.
Classic secret 2: cornflour will make your meringue layers dryer and crispier, which is very important.
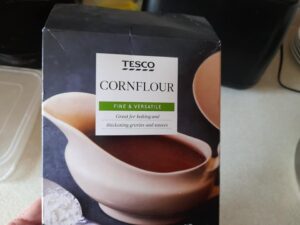
Add it in heaped tablespoons.
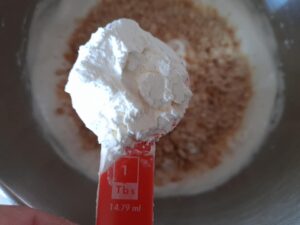
Now, mix nuts and cornflour into whisked egg whites with a spatula, gently and slowly, in circular motions from bottom to top, only in one direction, not to let the whites subside.
When the batter is ready, prepare the tray.
Cover the bottom of the round baking tray with a parchment paper and place it into a bigger tray, covering its bottom with a parchment paper too.
Place the batter into the round tray, trying to even up and smooth the surface the best you can. Place a small amount of the batter on the side, on a bigger tray beside the round tray.
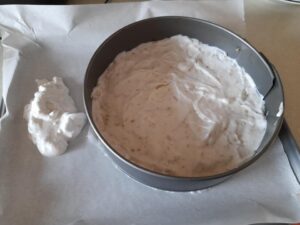
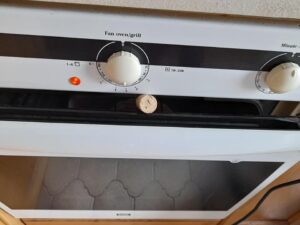
Do not pre-heat the oven, switch it on only once you’ve put the tray in.
Bake the meringue in a fan-assisted oven at 150 C for about 2 to 2.5 hours. To improve air circulation, open the oven door a little and leave it ajar, fixing it in that position (I used a wine cork).
I use the word “bake” quite loosely in this case. Strictly speaking, it’s not baking, it’s just drying out the meringue. It takes long to dry out, and it needs to be completely dry.
IMPORTANT: you need to dry the meringue layers out in the oven, until they are completely dry and hard. As for their colour – they will turn golden. If you are worried about their colour getting too brown, you may cover them with some aluminium foil about half way through the baking. To check whether your meringue layers are ready, just gently press on them – they should be hard. Don’t worry if they seem too hard to you – they are not. They need to be crispy in a cake, and not turn soggy from the cream layer. So, if they are not hard enough even after 2.5 hours – keep them in the oven for longer.
When the small amount you had put on the side gets completely dry, pull it off the parchment paper, break into crumbs and keep in a separate bowl. When the main layers are ready, get them out of the baking tray, but do not take the parchment paper off their bottom. Let them cool down completely, then wrap them into a cling film or a poly bag, and keep them until you are ready to assemble the cake.
DAY 2: make Charlotte butter cream, assemble and decorate the cake.
Classic secret 3: the most perfect cream for the Kyiv cake is not just any butter cream, but Charlotte butter cream.
Prepare the base for Charlotte cream, which is English cream (custard).
So to start, take the egg yolks out of the fridge and put them into a saucepan.
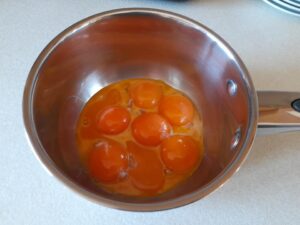
Add a little milk and mix together with a whisk.
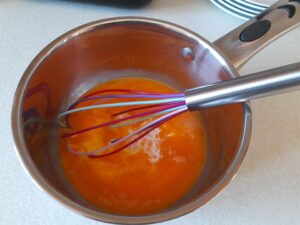
Add the rest of the milk and mix it in.
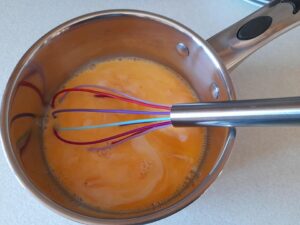
Add sugar and vanilla sugar and mix it in. Then, put it on a small heat and heat up, stirring constantly.
IMPORTANT: custard burns very easily. So, while it heats up, stir it non-stop.
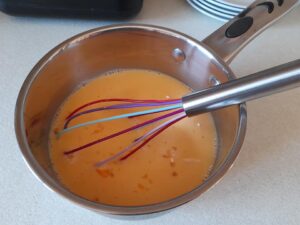
When the custard just starts boiling and you can see bursting bubbles like these – take it of the heat IMMEADIATELY.
IMPORTANT: do NOT let the custard boil for any longer.
Take the custard off the heat. Now, it needs to cool down to the room temperature. Place it in a bowl, cover with cling film in direct contact, and leave in room temperature to cool down. In the meantime, take the butter out of the fridge – it should be soft and of the room temperature too.
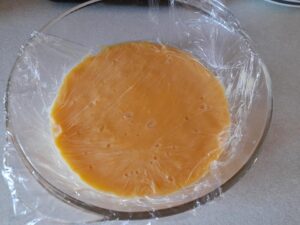
When the custard and butter are both of the same temperature – i.e. room temperature, – start preparing the cream.
IMPORTANT: both butter and custard cream MUST be of the room temperature. If either of them are too hot or too cool, the cream might be ruined.
When you are absolutely sure both of them are of the room temperature, whisk the butter until light and fluffy.
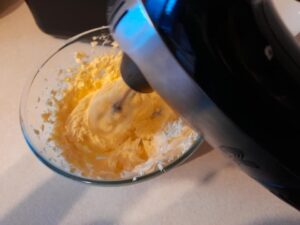
Then add the custard into the butter – not all at once, but in small portions, – and whisk to mix each portion in. Add the next portion only after the previous one is well mixed in.
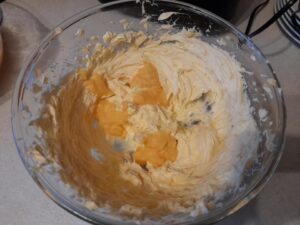
Keep doing it until you’ve mixed all the custard in.
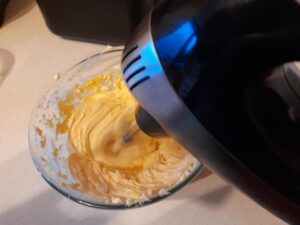
Classic secret 4: cream for the Kyiv cake should contain brandy 🙂

Add 2 to 2 1/2 tablespoons of brandy, and mix it in. The hint of brandy should be clearly tasted in the cream.
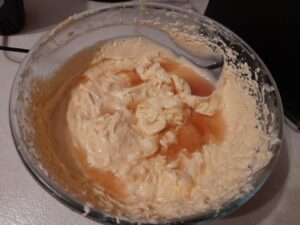
And your Charlotte cream is ready 🙂 It’s fluffy, aromatic and delicious!
Now, time to assemble the cake.
Take the parchment paper off the bottom of the meringue layers. It should come off easily.
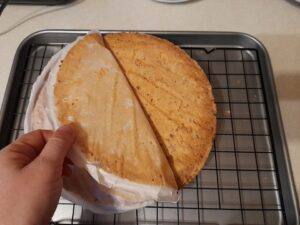
Choose the bottom layer, place it onto a tray with a rack, and cut some rough and uneven pieces off its top.
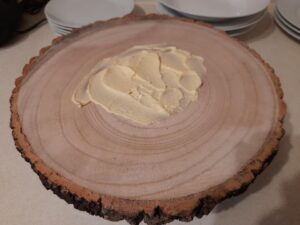
Take a cake base or a serving plate, and place a small amount of cream in the middle of it. This will “glue” the cake to the base, and keep it stable and easier to cut.
I like this wooden cake base – it looks very cool, and more importantly, you don’t need to worry about cutting it when cutting the cake.
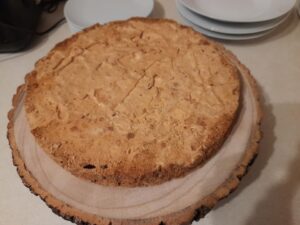
Place the bottom layer of the cake onto the cake base rough side up, and slightly press it down.
Cover it with cream – a thin layer first, to smooth any crumbs…
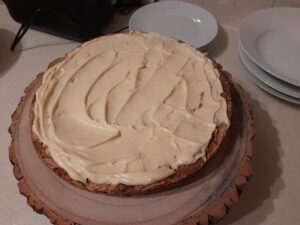
… and then make the cream layer as thick as you want.
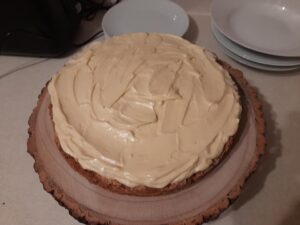
Smooth the cream layer over with an icing spatula.
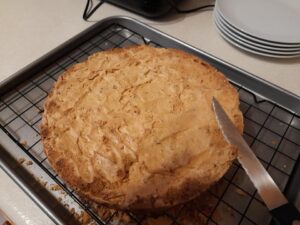
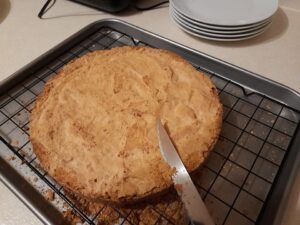
Place the upper layer of the cake on a tray with a rack and cut the rough bits off.
Place the upper layer on top of the cake, rough side down and smooth bottom up. Press down slightly.
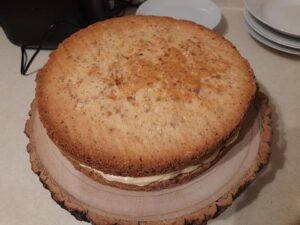
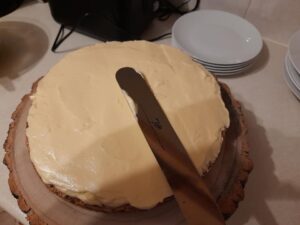
Even up the cream layer with an icing spatula. Take the excess of the cream from the sides where it squeezes out, and fill in any gaps.
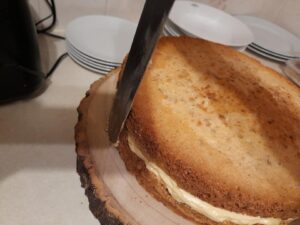
You can put the cake in the fridge in the meantime.
Now, take about a third of the remaining cream and place into a separate bowl.
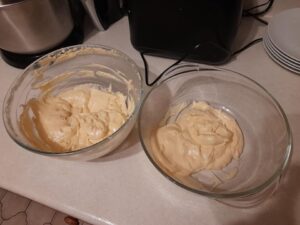
Into a bowl with more cream, sift in cocoa powder…
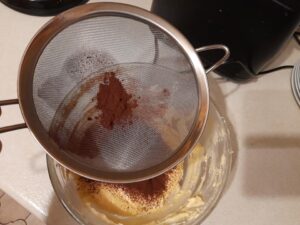
… and whisk it in.
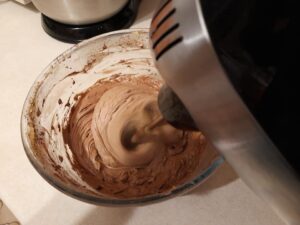
Cover the top and the sides of the cake with a thick layer of chocolate cream. (However, leave some for decorating).
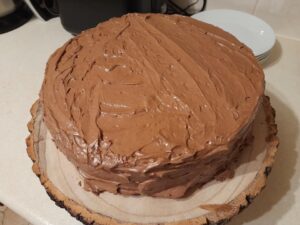
Smooth up the top of the cake…
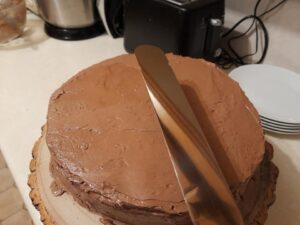
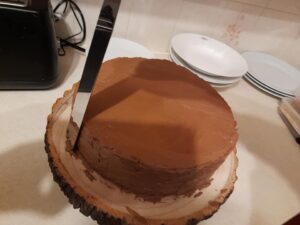
… and its sides, with an icing spatula.
Break the rough pieces that you had cut off the meringue layers, into crumbs…
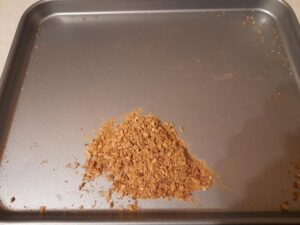
…and add them to the crumbs you had prepared before – from the small amounts of meringue you had baked beside the main layers.
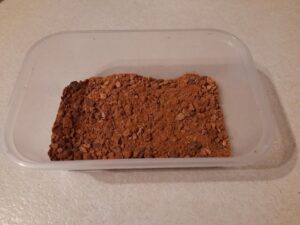
Add the small amount of the crushed nuts that you had left on the side after preparing the main portion of nuts to add into the meringue, and mix together.
You can use just the meringue crumbs, or just the crushed nuts. I love the mix of them, so I use the mix.
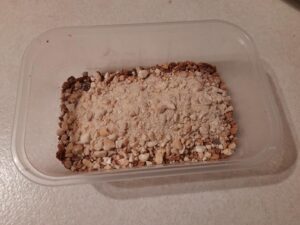
Now, place the cake base onto a rotating table and put the rotating table on a tray. Brush the sides of the cake with the mix of meringue crumbs and crushed nuts, pressing it gently to the sides of the cake. You may do it with the icing spatula.
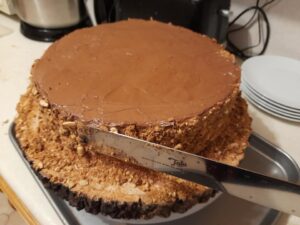
Now, the most exciting bit – decorating the cake. It’s my favourite part! 🙂
I’ll start with the upper border of the cake – and for that, I’ll need the remaining chocolate cream, a piping bag and the nozzle “Big open star”, number 2D. (You can see the number in the picture).
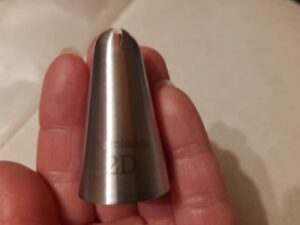
Cut off the edge of the piping bag, fix the nozzle in, and fill the bag in with the remaining chocolate cream.
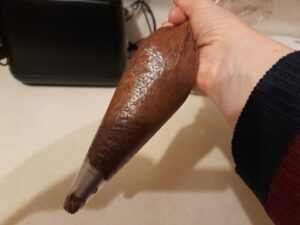
Slowly rotating the cake on the rotating table, pipe out the type of cake border, called Rosette border.
If you have any excessive cream left, put it in the fridge (no need to take it out of the piping bag, or get the nozzle out – you won’t need this nozzle for this cake any more). It can keep in the fridge for up to a week. You may eat it later – for example, on top of ice cream.
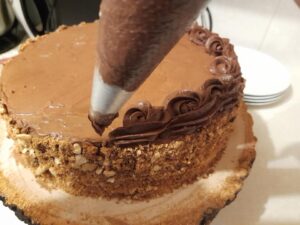
Now, time for the white cream decorations. For them, you will need another piping bag and two smaller nozzles, and a coupler to fix them. A coupler is a very handy tool – it enables you to use different nozzles on the same piping bag, to take one nozzle off and put another onto the same piping bag filled with cream. If you don’t have a coupler, you will have to use 2 different piping bags filled with white cream, with 2 different nozzles.
The first nozzle you need to use with the white cream, is a small round tip. Put a coupler into a piping bag, fix the nozzle in, and fill the piping bag with the about a half of remaining white cream (put another half in the fridge).
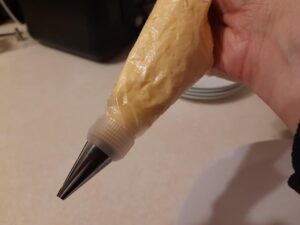
Start with drawing a mesh. You might want to draw a sketch with a cocktail stick first, to guide you.
Pipe out vertical lines first…
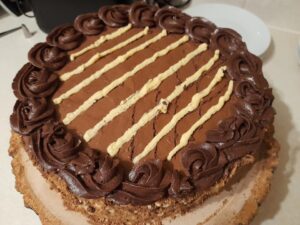
… then pipe out oblique lines across the third of the cake.
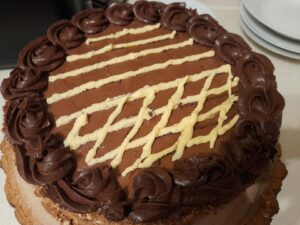
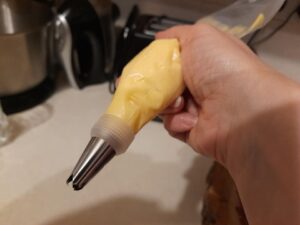
Now change the nozzle to a small “Star” one (I can’t give you the number, I don’t have the numbers on my small nozzles). You can use any type of a star nozzle – either “Open star” or a “Closed star”.
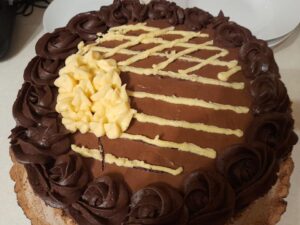
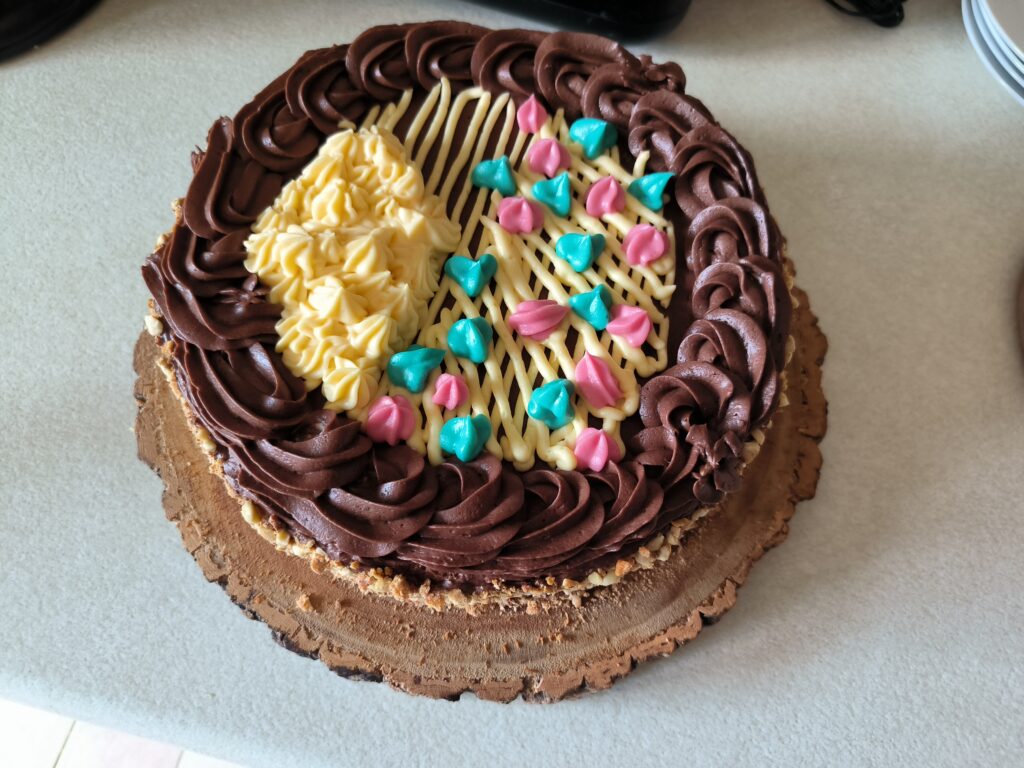
At the bigger side of the cake that is not a mesh, pipe out the flower similar to the chestnut tree blossom. Chestnut trees are an unofficial symbol of Kyiv, and of course should be shown on the Kyiv cake.
Now, time for coloured decorations.
Divide the remaining white cream into 3 parts. One of them need to be coloured pink. However, I have only red food colouring – Sugarflair Red Extra.
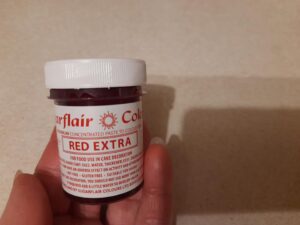
This red colouring is very concentrated, which I slightly forgot about. I might have added only 1 extra drop, and it coloured the cream bright red. Ideally, it should have been hot pink.
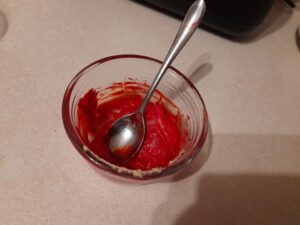
For the red decorations, place a “Small Star” nozzle into a piping bag, and fill it with the red cream.
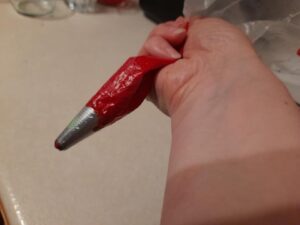
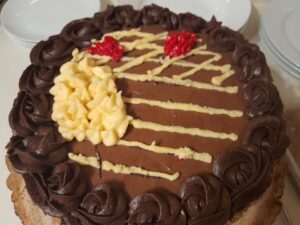
Pipe out small red flowers onto a mesh part of the cake.
Another small part of the remaining white cream should be coloured blue. I use Dr Oetker’s blue colouring.
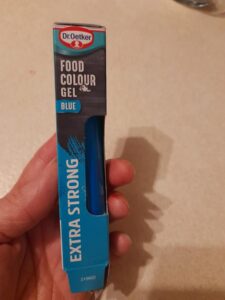
Place a “Small Star” nozzle (I used a small “Closed star”) into a piping bag, and fill it in with blue cream.
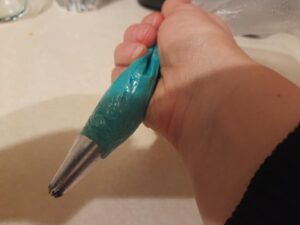
Pipe out small blue flowers beside red flowers on the mesh part of the cake.
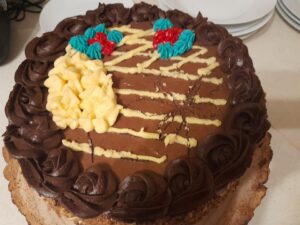
The last part of the white cream should be coloured green. I use Dr Oetker’s green food colouring.
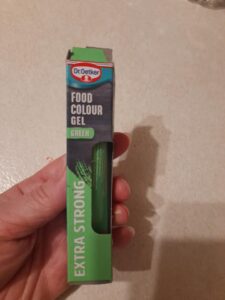
For green decorations, we’ll need a small round tip nozzle. Place it into a piping bag and fill it in with green cream.
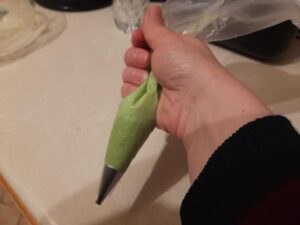
Pipe out a leaf that looks like a chestnut tree leaf, and a stalk and branches of the chestnut blossom…
… And your beautiful Kyiv cake is finally complete! 🙂
Put in in the fridge overnight before serving.
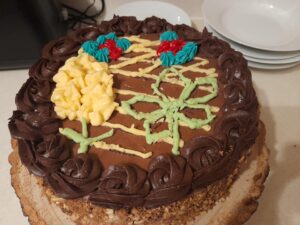
You can decorate the cake in different ways, but make sure the decoration contains white, blue, green and red/pink colours – it’s a signature decoration of the Kyiv cake. It’s also essential it’s covered with a chocolate cream, and a chocolate Rosette border is added.
I baked this cake a few times since, and every time I decorated it slightly differently. One of those times I put pink flowers instead of red ones, but no green decorations. And of course, every time the cake looked amazingly beautiful.
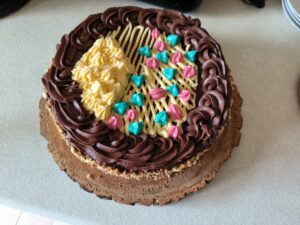
All the guests were simply stunned!
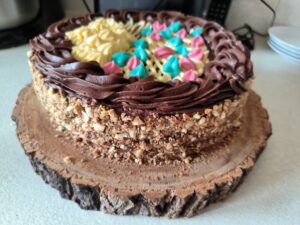
And of course, it’s absolutely delicious!
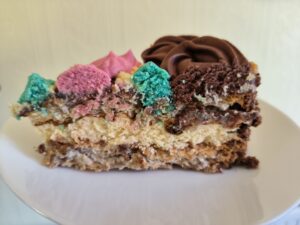
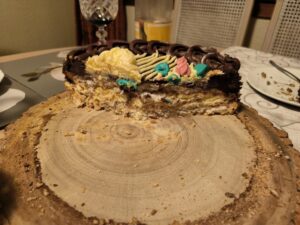
It’s quite sweet, but not sickly-sweet. The combination of meringue and nuts is exquisite. And one can definitely taste a hint of brandy in the cream. It’s simply perfect!
An interesting recipe for Charlotte cream! I appreciate the detailed instructions on how to handle the nuts and egg whites to achieve the perfect texture. The addition of brandy sounds like a great way to enhance the flavor. I’m curious, though, does the custard need to be chilled before adding it to the butter, or is room temperature sufficient?
Hello, thanks for your comment and questions. Room temperature of the custard isn’t just sufficient – it’s essential. The butter needs to be soft and of room temperature, and custard needs to be cooled to room temperature as well, for both substances to be of the same temperature before mixing them together.
This text provides a detailed recipe for making Charlotte cream, involving steps like drying nuts, mixing ingredients, and assembling the cake. The instructions are clear, but I wonder why the nuts need to be crushed into small pieces instead of being powdered. The process of gradually adding sugar and custard to the butter seems crucial for achieving the right texture. How important is the direction of mixing the nuts and cornflour into the egg whites?
Hello, thanks for your comment and questions. Crushing the nuts rather than powdering is just a matter of personal taste. You can powder them if you wish, however, I prefer being able to taste small pieces of nuts. Besides, crushed nuts are part of the original recipe.
As for the direction of mixing the nuts and cornflour into the egg whites – it doesn’t matter, can be either clockwise or anticlockwise, as long as it’s one direction.