- Apple puree – 200 g
- Sugar (to add to the puree) – 200 g
- Sugar (to add to the syrup) – 350 g
- Water – 120 g
- Agar agar (gel strength 900) – 10 g
- Egg white – 40 g (approx. 1 large egg)
For coating:
- Cooking chocolate – 400 to 500 g
Method is explained and illustrated below. Enjoy!
First of all, you need to make some apple puree. You can make it in advance and keep in the fridge.
Cut the apples into halves…
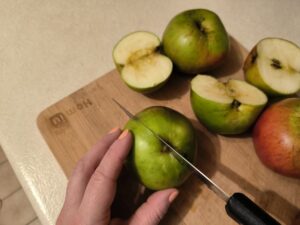
… cut out the stems and core out of the apples…
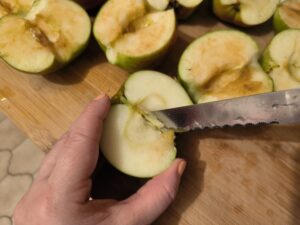
… and cut the skin off them.
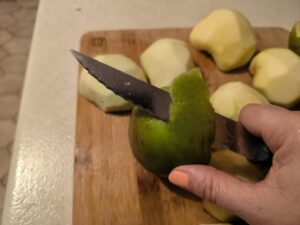
Cover the baking tray with some aluminium foil and place apples onto it.
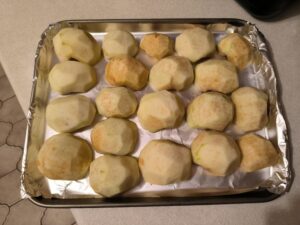
Bake at 170C for about 40 minutes.
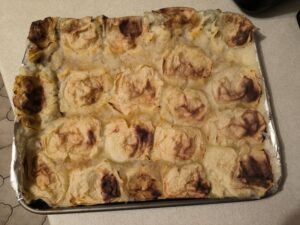
Once the apples are baked, let them cool slightly, place them into the bowl…
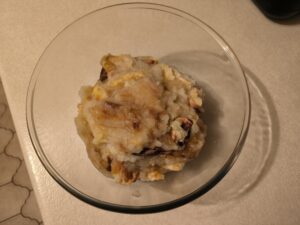
… and blend them with an immersion blender until smooth and creamy.
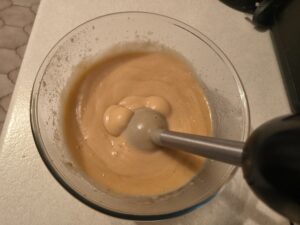
You can put the apple puree aside for now.
I would advise to prepare all the equipment you would need for piping zephyr out, at this stage, as you might not have time later, since you would need to work really fast.
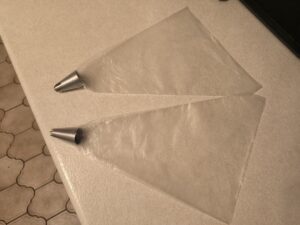
Take a piping bag, cut its edge off and place a nozzle of the shape you want, into the bag. I use star-shaped nozzles, which are most suitable for making zephyr.
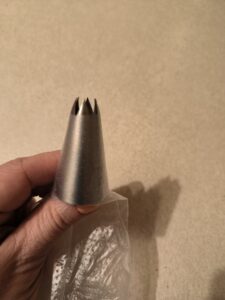
I prepared two piping bags with two star-shaped nozzles.
Now make the syrup.
Pour the water into a saucepan…

… take agar agar…
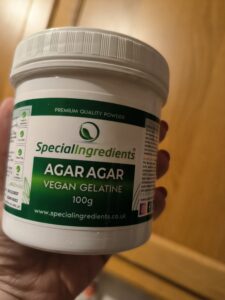
… add it to the water, and leave for a few minutes to thicken.
Agar agar is the MOST crucial ingredient in zephyr. It can NOT be replaced with gelatine or vege gel. If you try to use any other gelling component instead of agar agar, your zephyr will not set and your mixture will remain creamy.
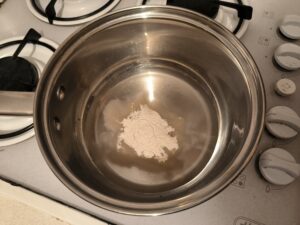
After a few minutes, stir the agar agar into the water with a whisk.
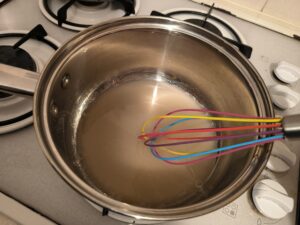
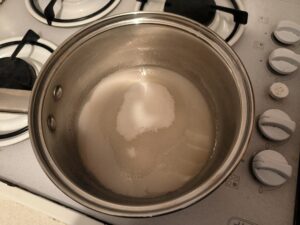
Add sugar and put aside.
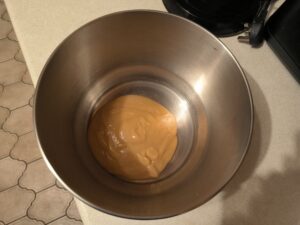
In the meantime, place the apple puree into a whisking bowl…
… add sugar…
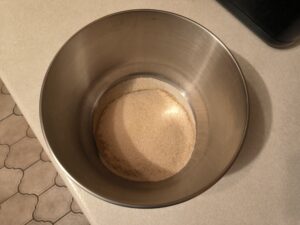
… and the egg white…
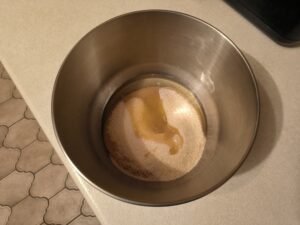
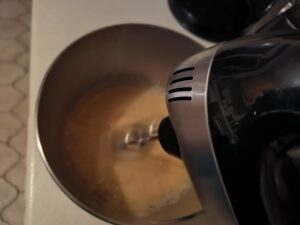
… and mix together until just combined.
Now, put the saucepan with agar agar, water and sugar, on medium heat to heat up. While the mixture heats up, stir it frequently.
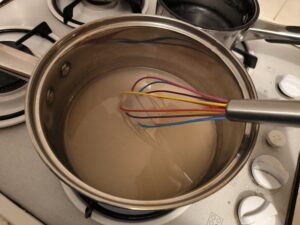
Bring the mixture to a boil…
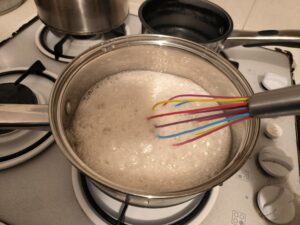
… and let it simmer for about 2 or 3 minutes, stirring constantly, until it starts thickening.
To check readiness of syrup, you may use the so-called “thread test”. Dip a spatula into syrup and then lift it up. Your syrup should not just drip from the spatula in droplets, but also form a thread. It’s very important to cook your syrup to the right consistency.
Take the syrup off the heat.
Whisk the egg and apple puree mixture slightly to make it fluffier…
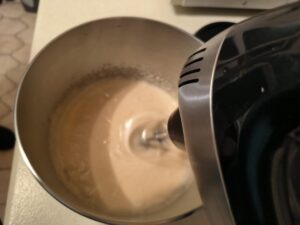
… and very gradually start adding hot syrup while whisking.
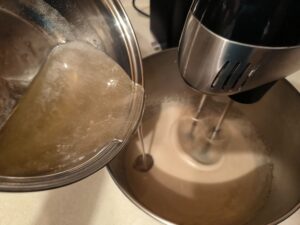
Once all the syrup is added, whisk the mixture until it turns white and glossy, and thickens a bit more.
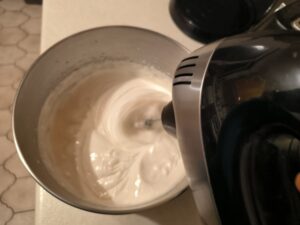
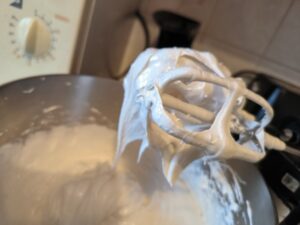
This is the consistency the mixture should get – quite firm, and form hard peaks on the mixing whisks, but still remain creamy. This is the time to place it into piping bags and start piping, since it sets up VERY fast.
Prepare the surface on which you will pipe out your zephyr. You can use silicone baking mats like I do, or parchment paper.
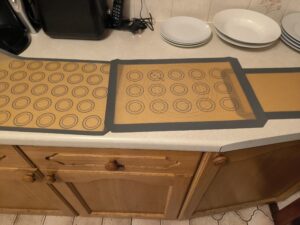
Put the mixture into piping bags, – you have to do it quite fast. You may use tall glasses to hold piping bags for convenience.
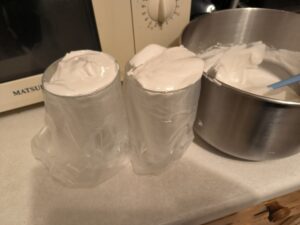
Start piping zephyr out as fast as you can.
I was in such a hurry to fill the piping bags with the mixture that was setting really fast, that I got my hands smeared with it 🙂
You can make your zephyr cakes as large or small as you like.
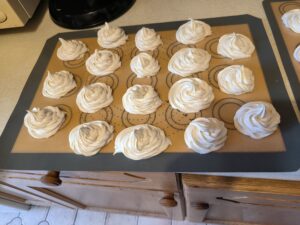
Once they all are piped out, leave them to set on the surface, for at least a few hours, or overnight.
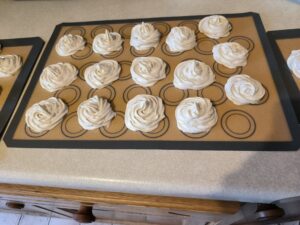
Next morning, you can see your zephyr cakes have stabilized, and can be easily removed from a silicone mat. The texture is soft but springy.
Now, you can prepare chocolate coating for your zephyr. You can chocolate coat all of your zephyr cakes, or only some of them.
A popular opinion is that one can get the best coating when using tempered chocolate. However, I do not temper the chocolate I use for the coating.
Break the cooking chocolate into small chunks…
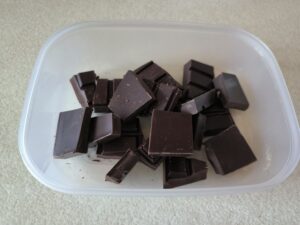
…and melt it over a double-boiler, or in a microwave (in short intervals of about 50 seconds, then stir it after each interval, so you won’t over-heat it).
One way to chocolate coat your zephyr cakes is to place them on a rack and pour the melted chocolate on top of them, ensuring they are covered evenly.

If you want to chocolate coat the bottom of the cake as well, you may dip the cake in melted chocolate.
Another way is to dip whole zephyr cakes into melted chocolate instead of pouring melted chocolate on top of them.
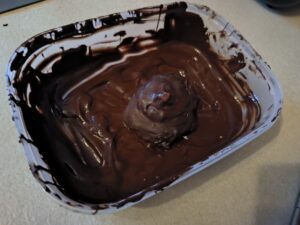
Very carefully transfer the coated zephyr cakes onto a silicone mat or parchment paper…
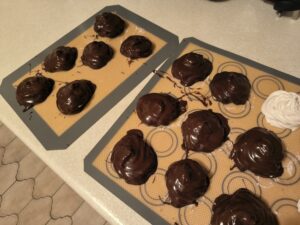
… and leave them for a few hours for the chocolate to firm up.
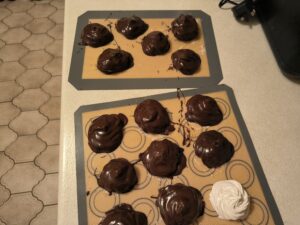
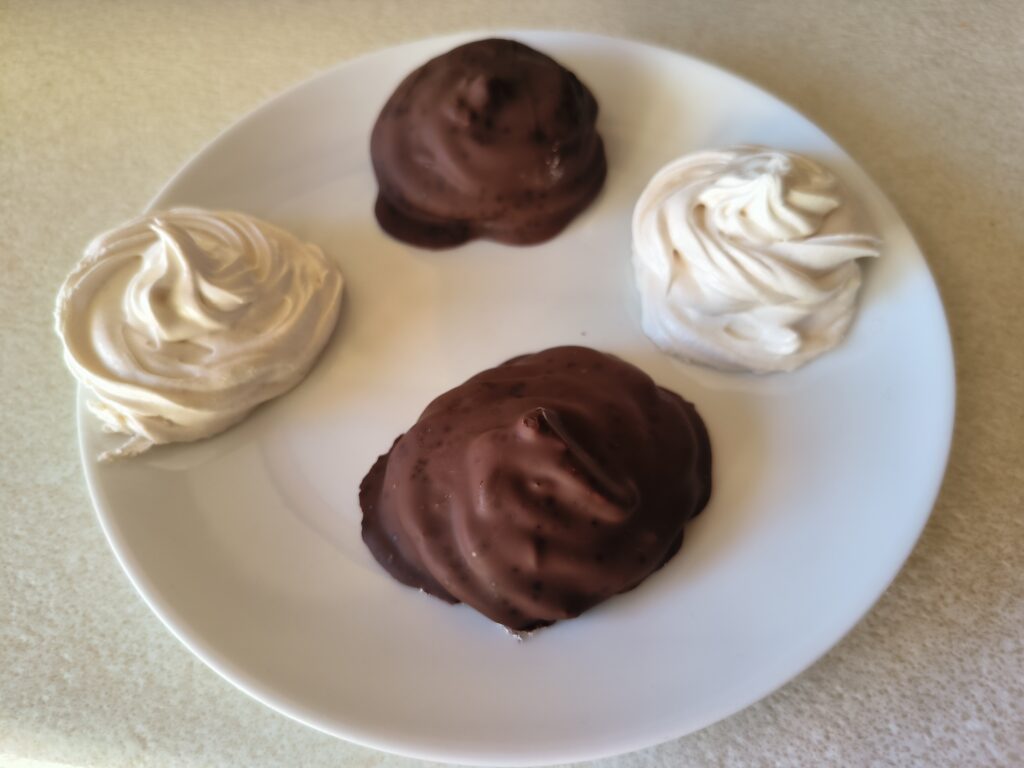
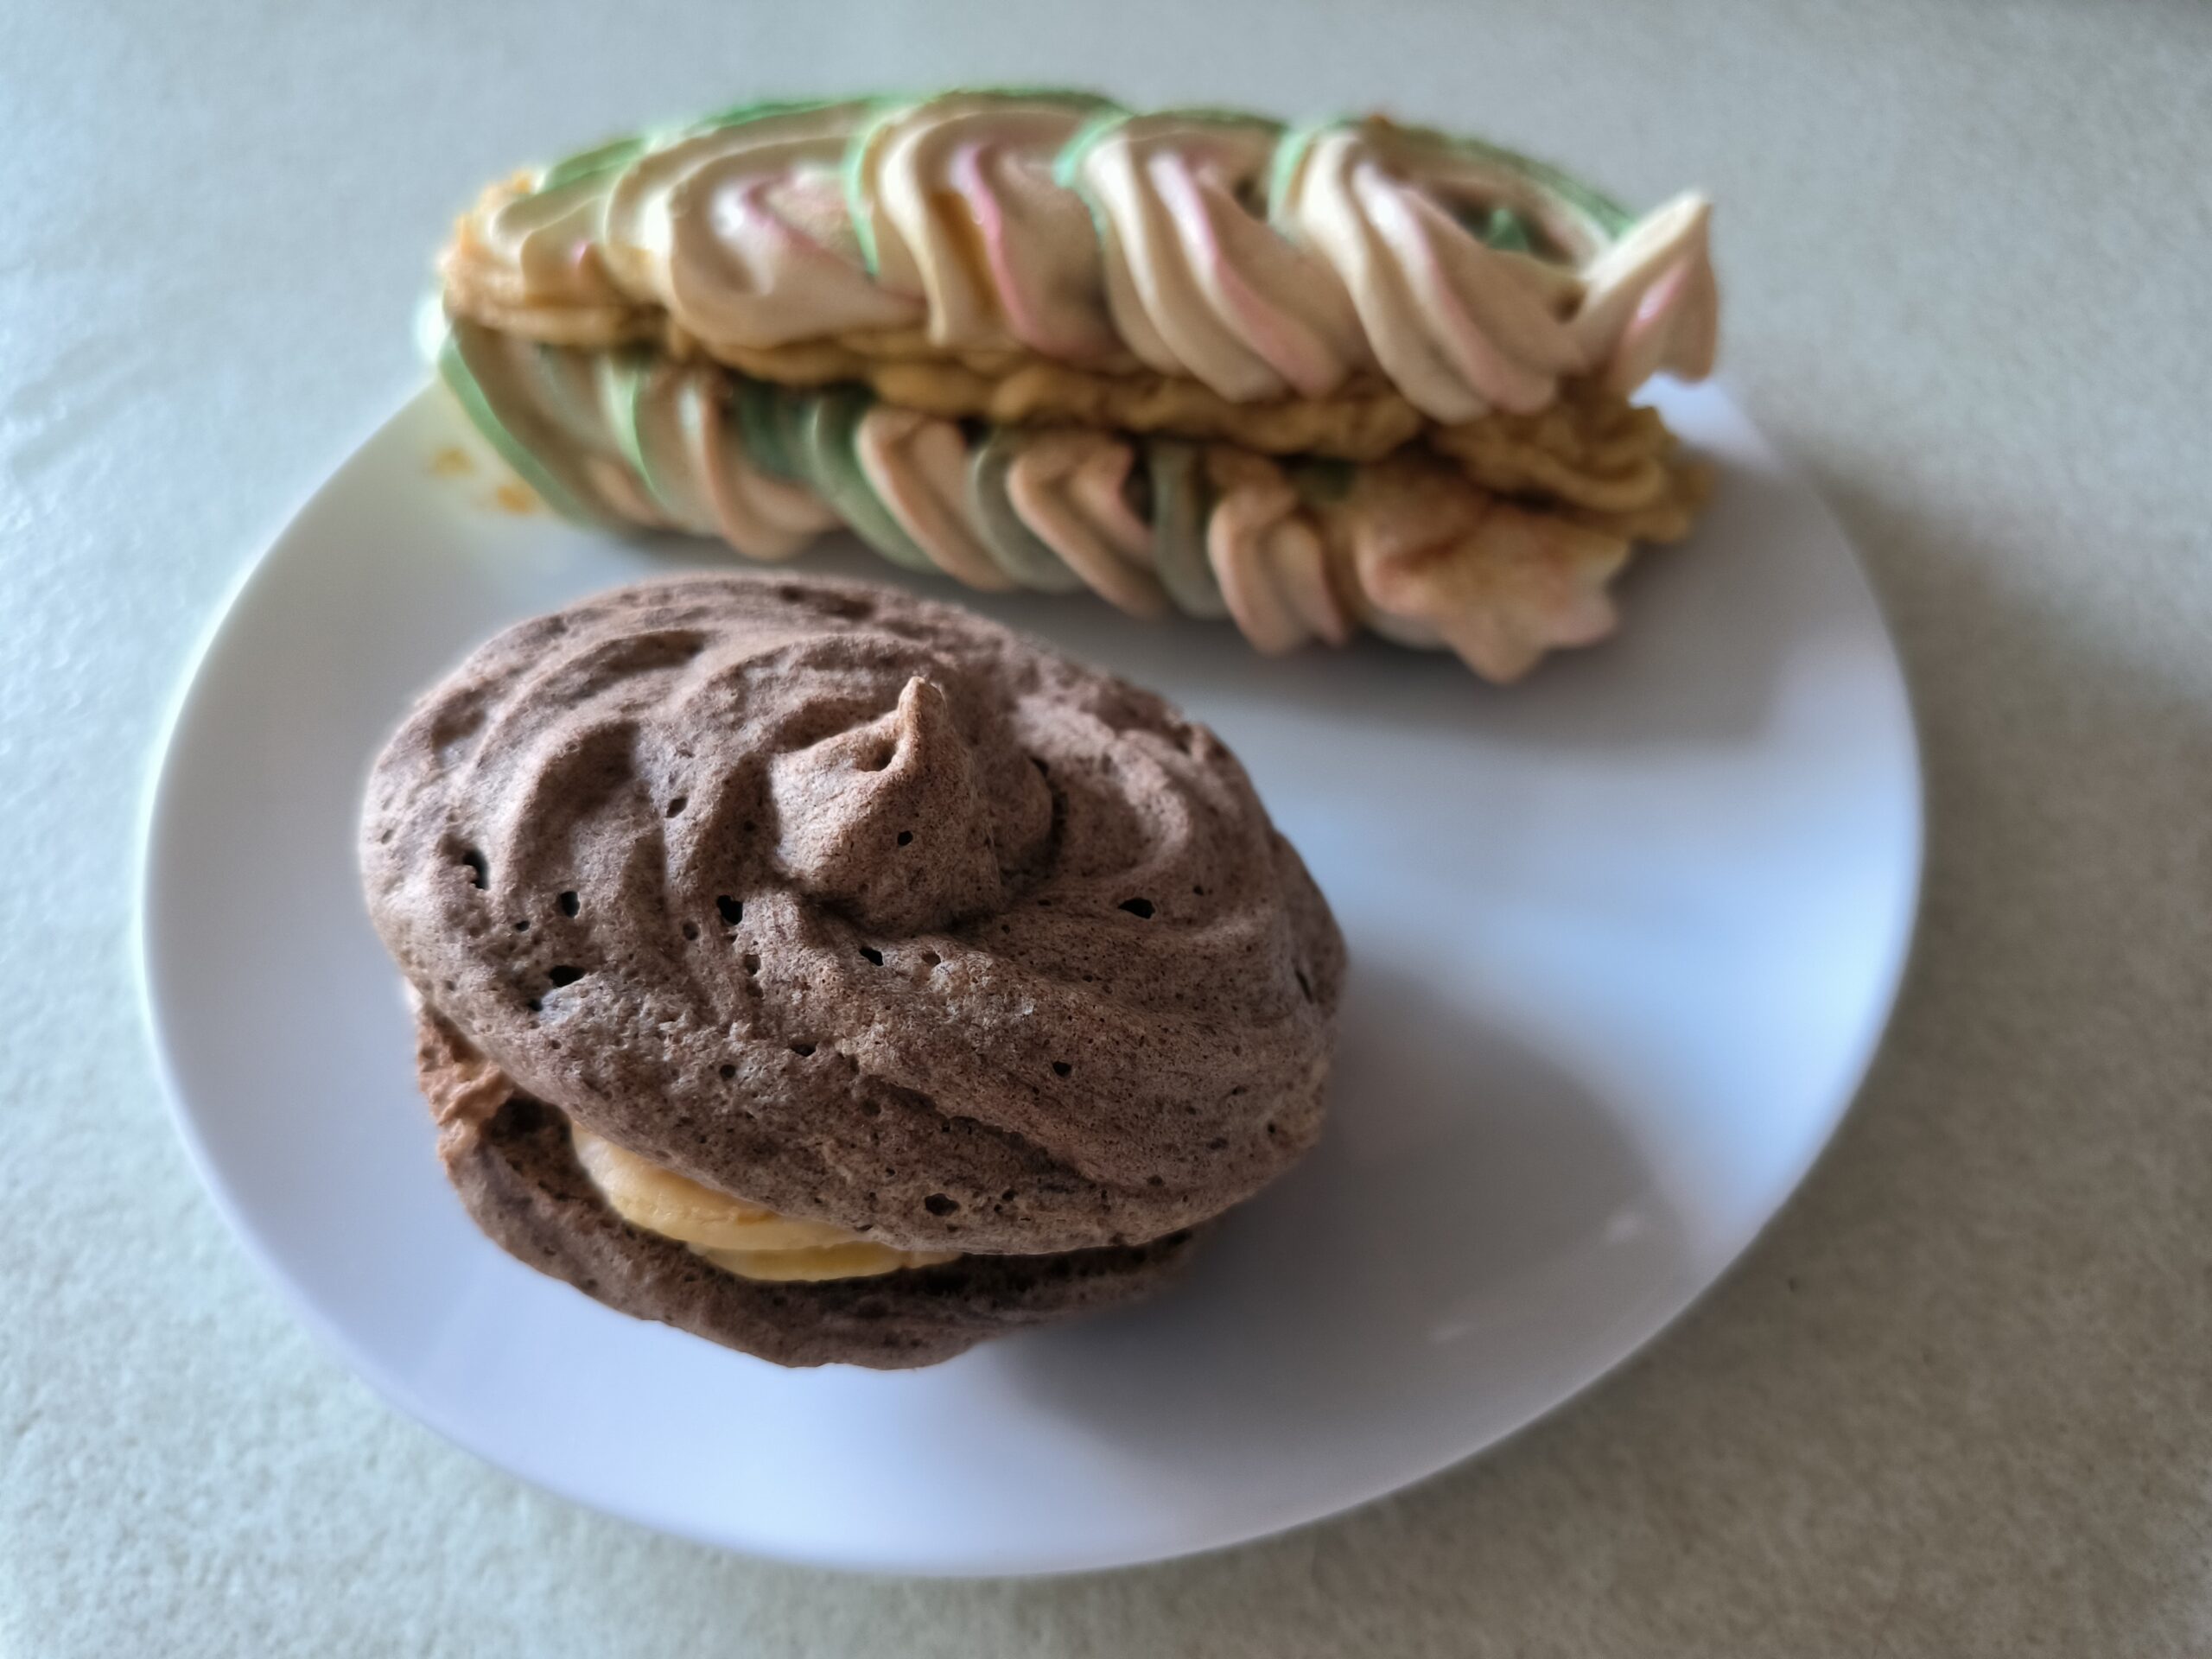
And here they are!
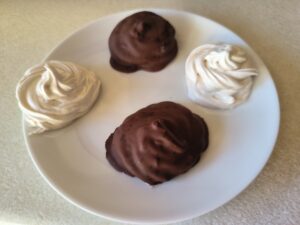
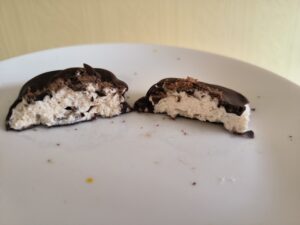
Inside, zephyr is very soft, light and airy, and of course it’s incredibly delicious, with distinctive apple flavour. Enjoy! 🙂
