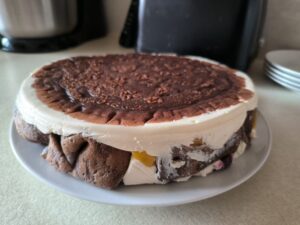
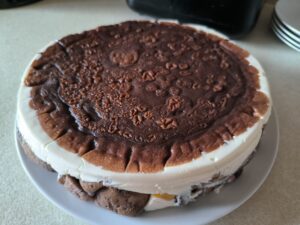
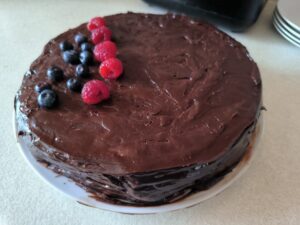
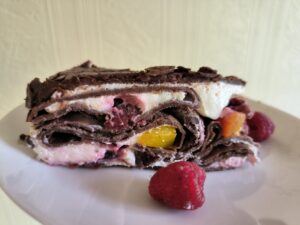
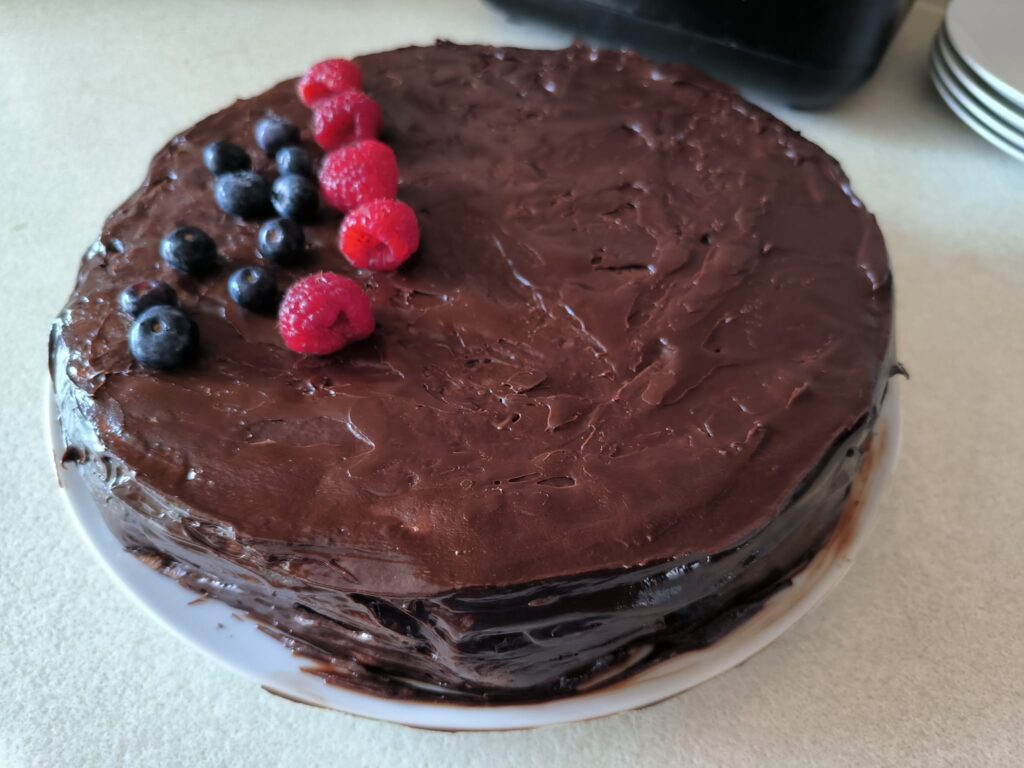
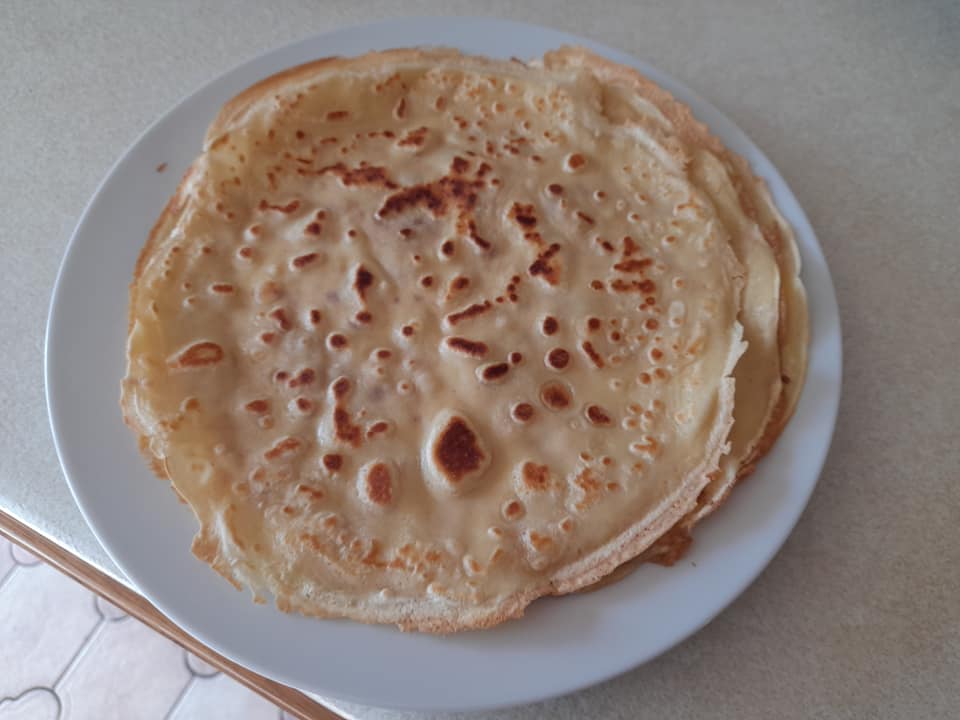
I made a delicious and impressive-looking chocolate and fruit crepe cake, which left everyone who tasted it, intrigued, as they couldn’t guess how the visual effect inside the cake could be reached 🙂
For chocolate crepes:
- Milk – 300 ml
- Boiling water – 200 ml
- Cocoa powder – 20 g
- Eggs – 2
- Sugar – 2 to 3 tbsp
- Vanilla sugar – 1 tsp
- Flour – 180 g
- Salt – 1/3 tsp
- Vegetable oil – 2 tbsp
For the cream:
- Soured cream (at least 20% fat) – 700 g
- Water – 100 ml
- Gelatine – 15 g
- Icing sugar – 120 to 150 g
- Vanilla sugar – 10 to 20 g (optional – out of the amount of icing sugar)
For the fillings:
- Any fresh, frozen or canned fruit or berries you like
I used:
- Frozen cherries – 150 g
- Canned peaches – 250 g
For glazing:
- Dark chocolate – 100 g
- Milk – 35 g
- Butter – 15 g
- Some fruit or berries for décor (optional)
Method is explained and illustrated below. Enjoy!
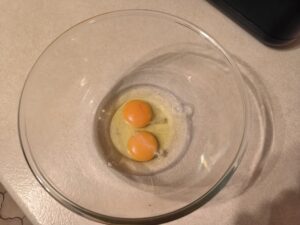
Place eggs into a bowl.
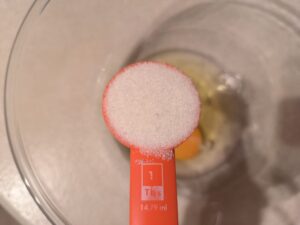
Add sugar…
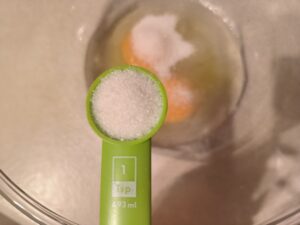
… and vanilla sugar…
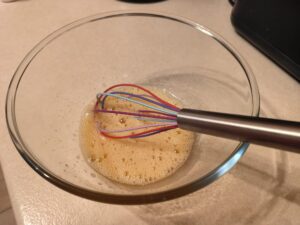
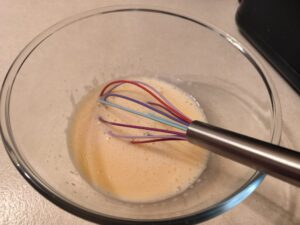
… and mix together.
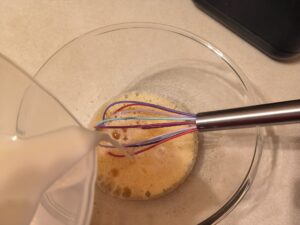
Add half the milk…
… and mix well in.
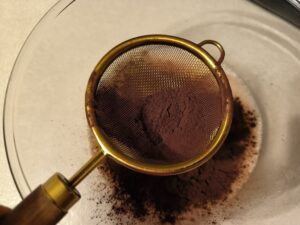
Add cocoa powder…
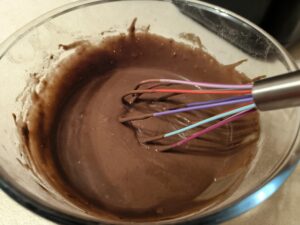
… and mix until well combined. There shouldn’t be any chunks left in the batter.
Add the rest of the milk…
… and mix well in.
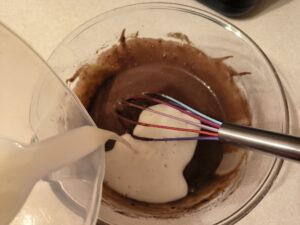
Now, add the boiling water…
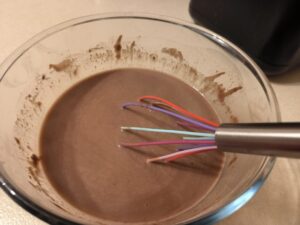
… and mix well in. The boiling water will partially coagulate the protein in the flour, which can stop the crepes from tearing.
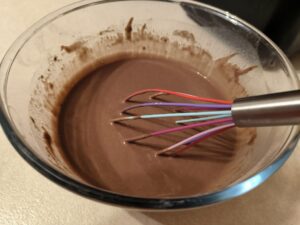
Add the oil…
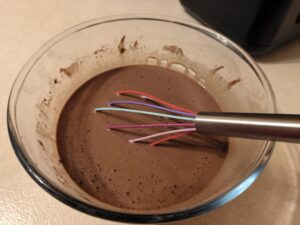
… and mix well in.
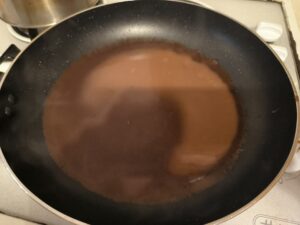
Prepare the frying pan. Heat it up and grease it with some oil only once, before frying the first crepe.
Before frying each crepe, stir the batter well with a ladle. Pour the first portion of the batter onto a frying pan.
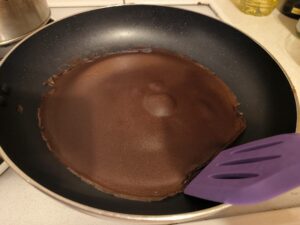
Fry the crepe for approx. 30 seconds on one side. When you see the crepe has firmed up, run a slotted turner around its edges…
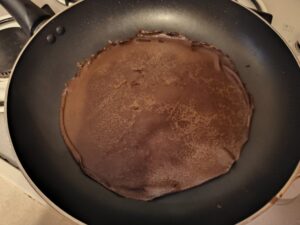
… flip it over, and fry on the other side for another 30 seconds.
Continue frying the crepes until you’ve used all the batter.
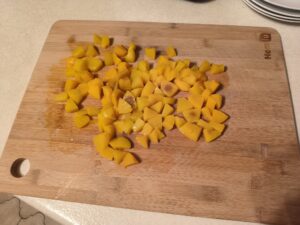
Prepare the fillings. Defrost the fruit or berries if necessary, and cut into small chunks, also if necessary.
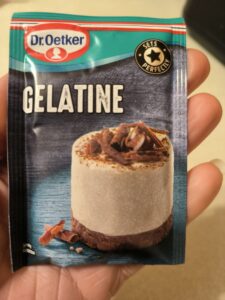
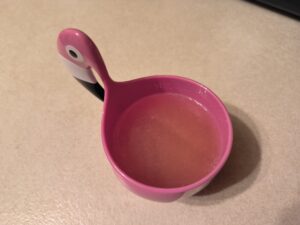
Take your gelatine…
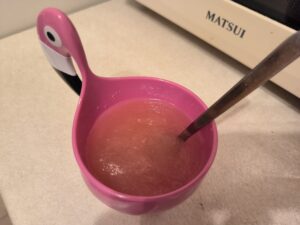
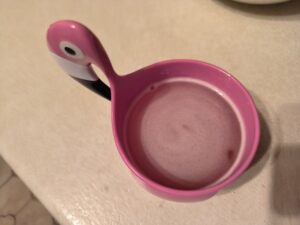
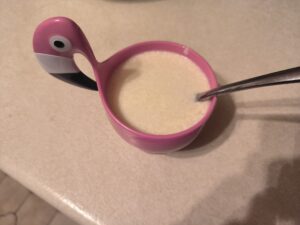
… place into a small dish, pour 100 ml of cold water into it, mix well together and put aside for about 10 mins.
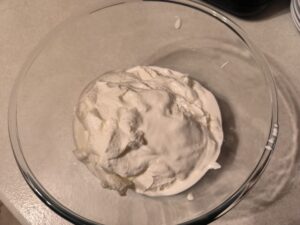
Put soured cream into a bowl…
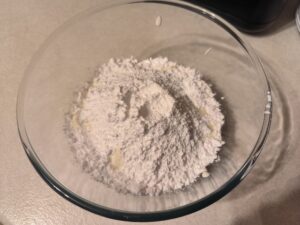
… add icing sugar…
… and vanilla sugar…
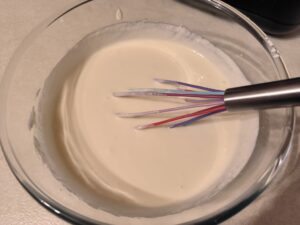
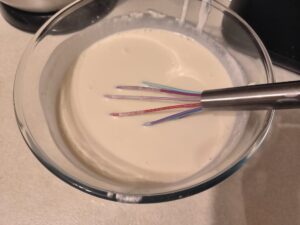
… mix together, and put aside for 5 to 10 minutes. After that, stir it with a whisk again.
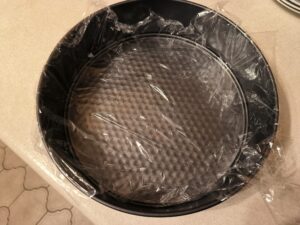
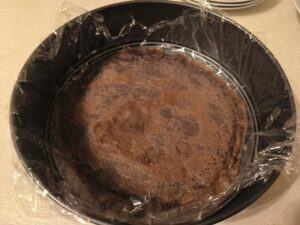
Since the cream will firm up quickly, it’s worth preparing a tray for assembling the cake, at this stage. Place the cling film over the bottom and sides of the baking tray, leaving enough of it to cover the cake with, at the sides.
Once the gelatine firms up, melt it over the double boiler or in the microwave for about 20 seconds…
… until it looks like this.
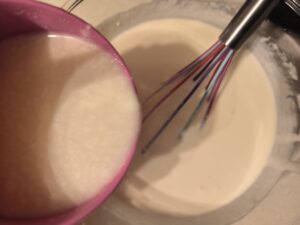
As the gelatine is now warm, to prevent it from clumping in cool soured cream, add some of the soured cream into the dish with the gelatine, and mix well. This would even up the temperature of gelatine and soured cream.
Now gently pour the gelatine into the cream…
… and mix it well in.
Time to assemble the cake.
Place the first crepe at the bottom of the tray (which must have a removable bottom)…
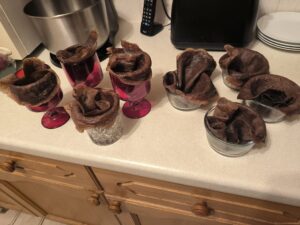
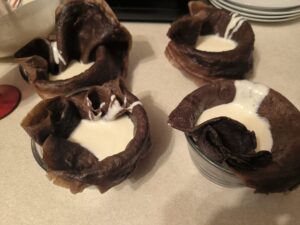
and put the rest of the crepes (apart from one) into small dishes or glasses, forming small “bags”.
Pour 2 to 3 tablespoons of cream into each “bag”…
… and put some of the fruit or berries into each of them.
In the tray, pour 4 to 5 tablespoons of the cream…
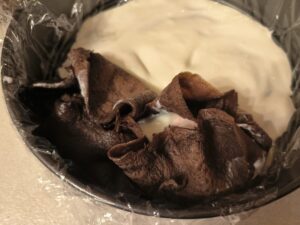
… close each “bag” as tightly as possible, and place them into the tray on top of the cream.
I formed 8 “bags” in total, and placed them quite tightly into the tray.
Put the rest of the filings in top of the “bags”…
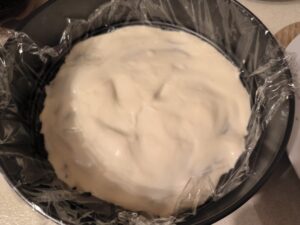
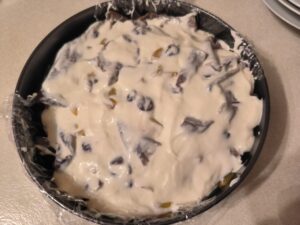
… and pour the rest of the cream on top of them.
IMPORTANT: you should do it all at quite a fast pace, as the cream firms up quickly. If necessary, you can heat it up in a microwave or over a double-boiler.
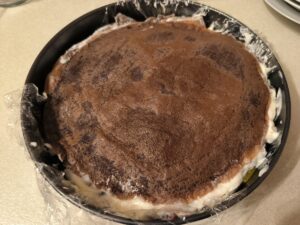
Cover the cake with the last crepe…
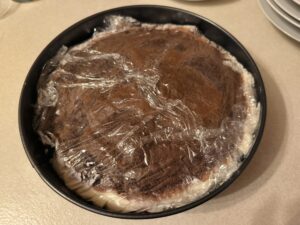
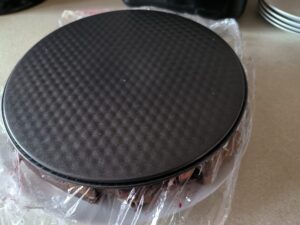
… and wrap the cling film you left on the sides of the tray, around it. Put the cake in the fridge for a few hours. You can also leave it overnight.
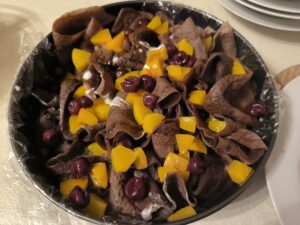
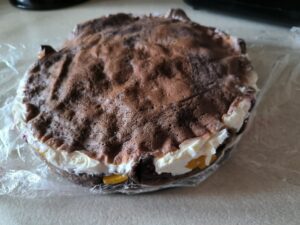
In a few hours, take the cling film off (don’t worry if the cake turns lumpy like this – it will be the bottom of the cake).
Cover the cake with the dish you will serve it on…
… turn it over…
… and lift the bottom of the tray off.
The cream should be firmed up.
Now make the glazing.
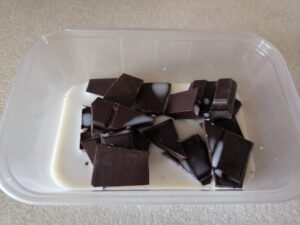
Place the chocolate and milk into a microwavable dish or container…
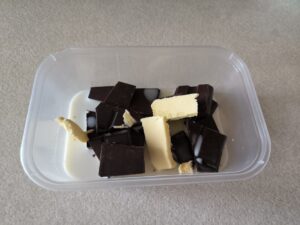
… add the butter…
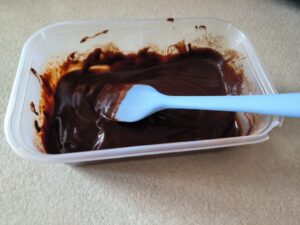
… and melt it in the microwave in short intervals, about 20 seconds each. Mix well together.
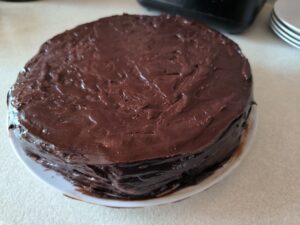
Cover the cake with it. The glazing should be quite thick and not runny.
If you wish, decorate the cake with any fruit or berries.
The cake is easy to cut, and each slice looks very interesting and unusual. The cake is delicious, light and fruity. The jelly cream is refreshing, and its texture is not “rubbery”. Enjoy!
