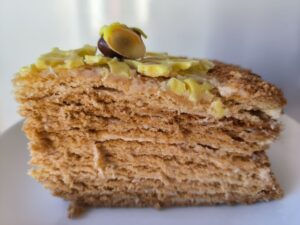
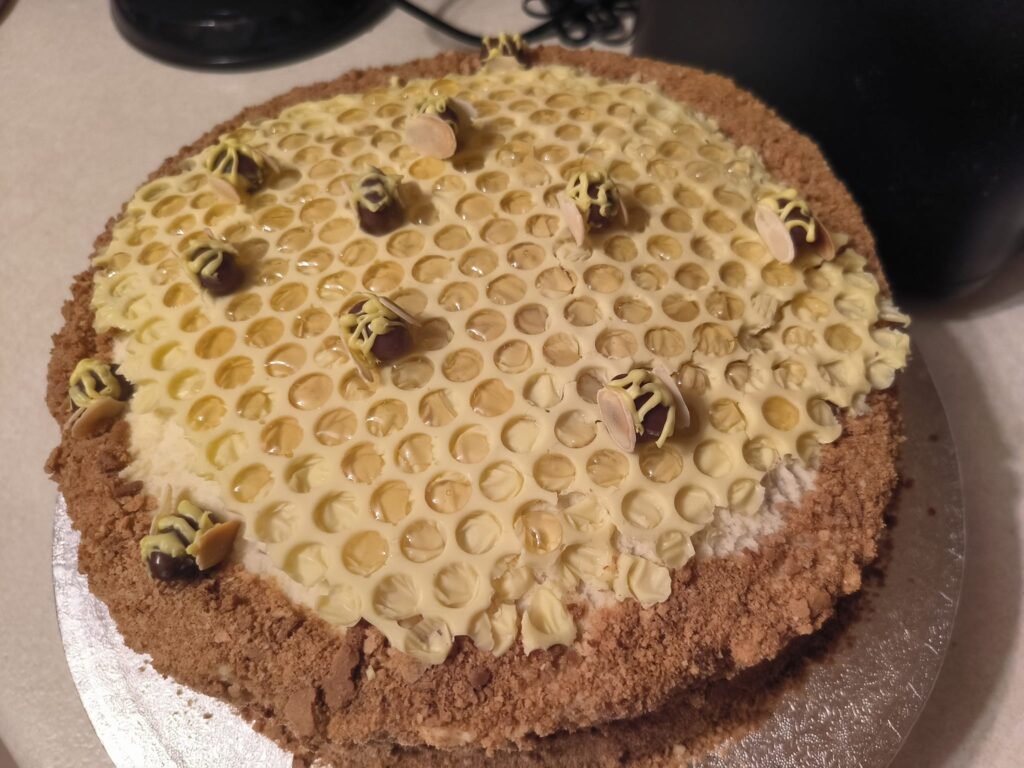
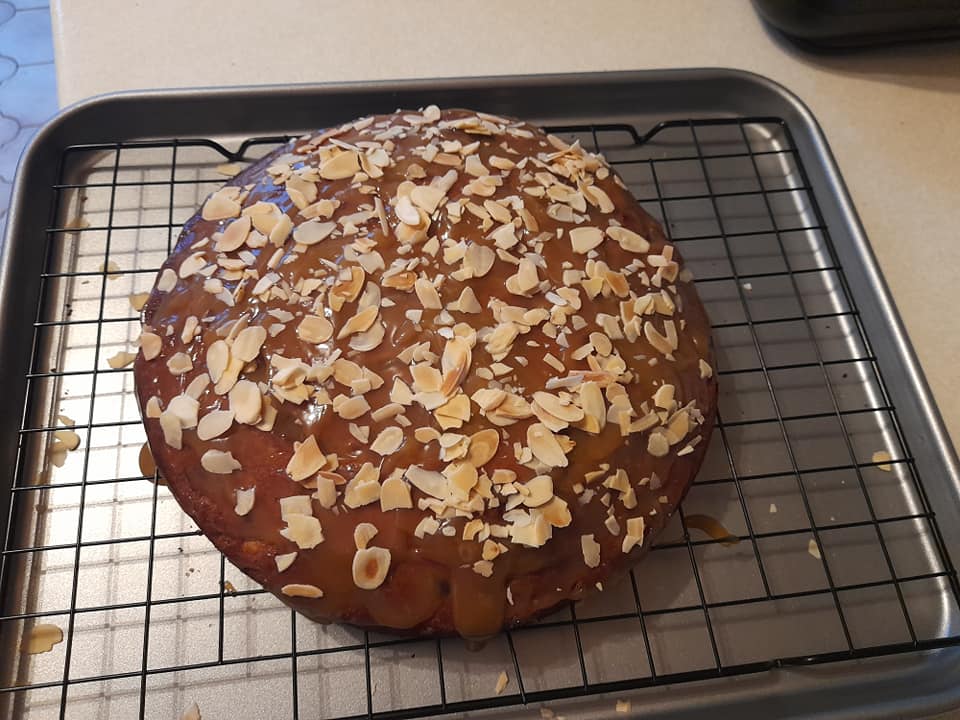
I made a honey cake the other day, which is a traditional Ukrainian cake, and is very popular in Ukraine. It turned out absolutely delicious!
- Eggs – 2
- Salt – a sprinkle
- Sugar -220 g
- Butter – 100 g
- Honey – 2 tbsp
- Soda – 1 tsp
- Flour – 400 g
- Butter (soft, of room temperature) – 250 g
- Icing sugar – 200 g
- Soured cream (at least 20% fat) – 300 g
- Chocolate-coated peanuts – as many as you like (I use 8-10)
- Almond flakes – 2 per each peanut
- White chocolate – 100 g
- Honey – 2 tbsp
- Yellow food colouring – a few drops
- You will also need some bubble wrap
Place eggs into a saucepan…
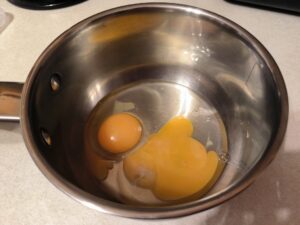
… add sugar and a sprinkle of salt…
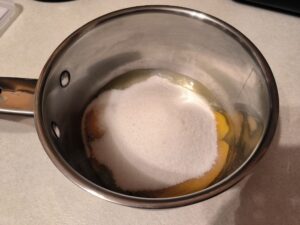
… and whisk until light and fluffy.
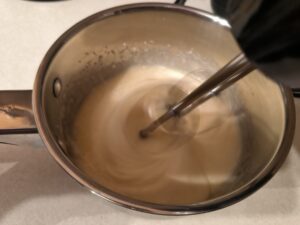
Add butter…
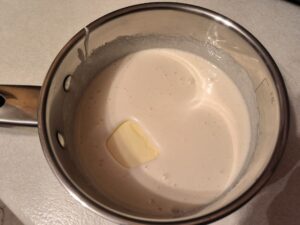
… and honey…
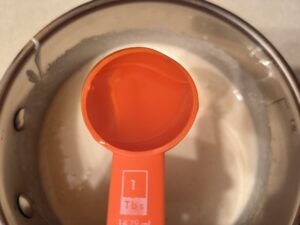
… and put to heat up on a medium heat. Bring the mixture it to boil, stirring constantly, but do NOT let it boil. Then take off the heat…
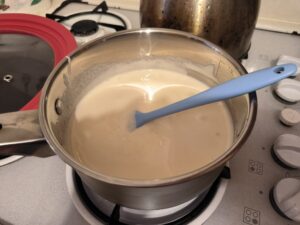
… and add soda, stirring constantly. The mixture will start expanding as a result of a chemical reaction of honey and soda.
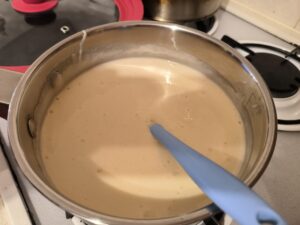
Start sifting the flour into a saucepan, gradually, in 3 or 4 parts…
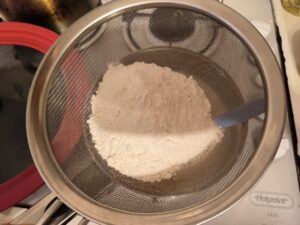
… and mix it in with a spatula.
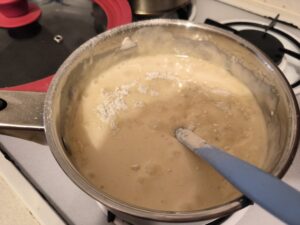
When the previous part is mixed it, sift the next part and mix it in.
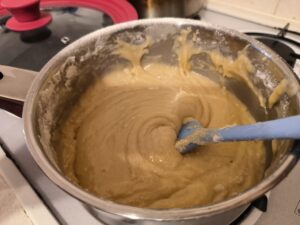
When the dough hardens and becomes difficult to mix with a spatula, take a wooden board, dust it with some flour…
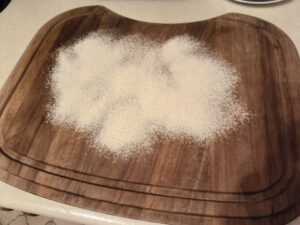
… place the dough onto the wooden board…
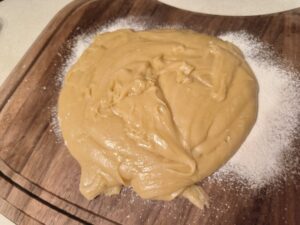
… and continue kneading with your hands. The dough should turn out soft, but it should not stick to your hands.
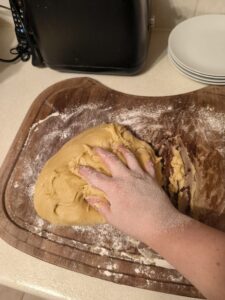
Once the dough is ready, divide it into 10 approximately equal pieces (although you can make less pieces – 9 or 8 ), and roll each of them into a ball.
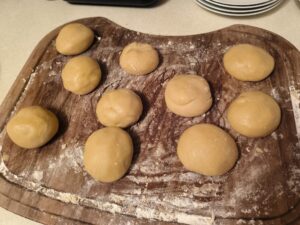
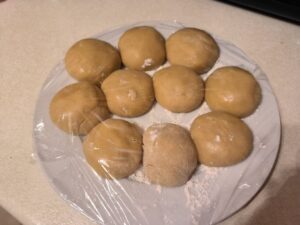
Dust a plate with some flour, place the dough balls onto it, cover with cling film and put it in the fridge for about an hour.
You can start pre-heating your oven to 170 C about 10 minutes before taking the dough balls out of the fridge.
It’s very handy to roll out the dough on the same surface you will bake the cake layers on. I’m using a silicone mat; you can use parchment paper and a tray.
Dust the surface you will use for rolling out the layers, with some flour.
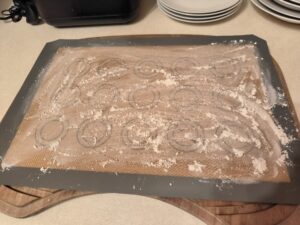
Place the first dough ball onto it, and roll out as thin as you can.
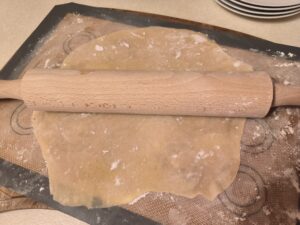
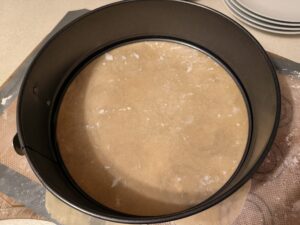
Use a cake baking tray, or a plate, to cut out the cake layer of the size you want.
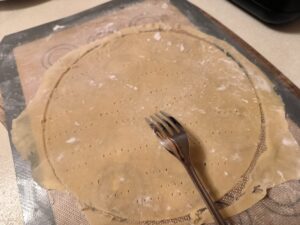
Pierce a cake layer with a fork, to stop it from bubbling up while baking. Bake at 170 C no longer than 4 to 5 minutes. Bake all the cut-offs together with a layer.
Once you take the cake layer out of the oven, let it cool down. It’s still soft while hot, but once it’s cooled down, it turns crispy.
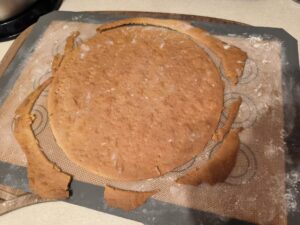
Remove all the cut-offs…
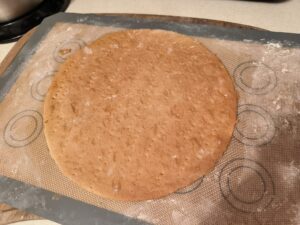
… break them into crumbs and keep aside. Repeat the process with the rest of the layers, until you’ve baked all 10 of them.
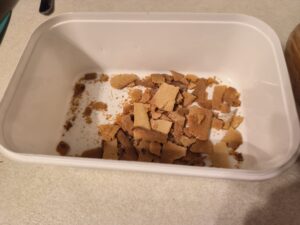
Now, make the cream. Place the soft butter into a bowl for whisking…
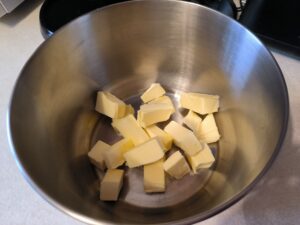
… add the icing sugar…
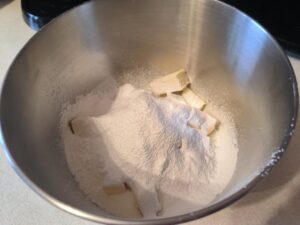
… and whisk on a high speed until light and fluffy.
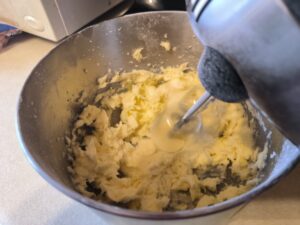
Add the soured cream, gradually, in 3 or 4 parts. Add the next part only when the previous one is fully incorporated…
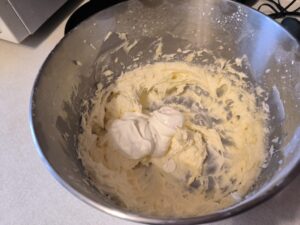
… and whisk it well in.
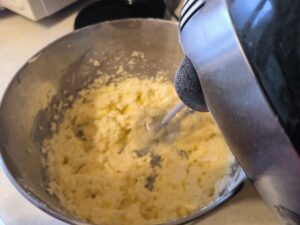
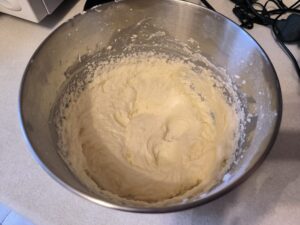
Your cream is ready!
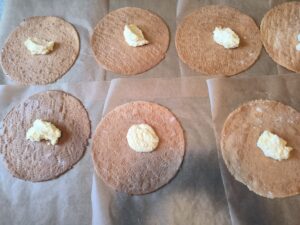
Now, place an equal amount of the cream on each of your cake base layers.
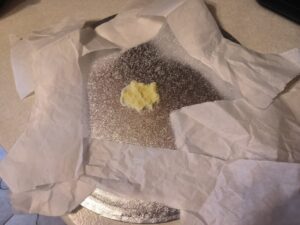
Put a small amount of cream on a cake base board or a dish, and put pieces of parchment paper around the edges.
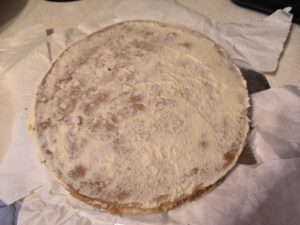
Put a bottom cake base layer on the board, gently pressing so the cream would “glue” it to the board. Spread the cream over the cake base layer, then cover it with another layer. Repeat the process until you’ve used all of your cake base layers.
I made 10 cake base layers, each of 22 cm in diameter. Please note that the amount of cream I made, was quite small for that number and size of cake base layers. Next time, I would proportionally increase the amount of all the ingredients to make more cream. You can do the same.
Take the crumbs you’ve made of the cut-offs of the cake layers you baked…
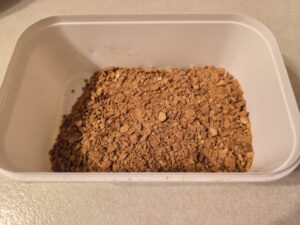
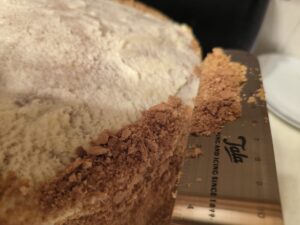
… and cover the sides of the cake with them, gently pressing to “glue” the crumbs to the cream. You may use an icing spatula.

Fill in any gaps between layers, with crumbs…
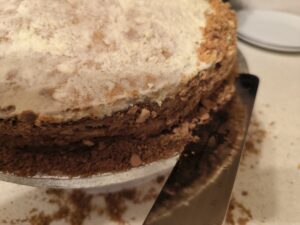
… and put some crumbs on the edges of the top layer too.
Now, time to decorate the cake. If you want to keep the decor classic and simple, you may cover the top of the cake with the crumbs as well (you’ll have more than enough crumbs for that). However, I decided to create a special decor for my honey cake.
Put white chocolate into a microwavable dish…
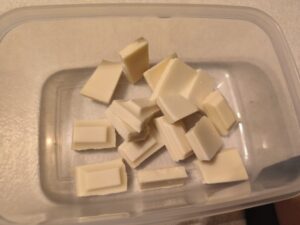
… and melt it in a microwave (at 30 to 50 second intervals, taking it out to stir after each interval). You can also melt it over a double boiler.
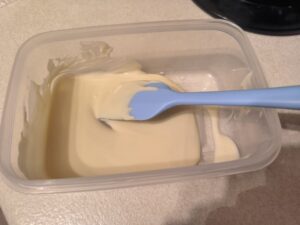
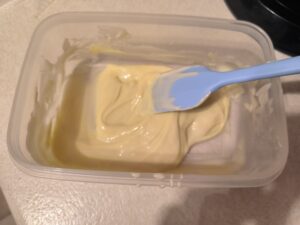
Add a few drops of yellow food colouring into your melted white chocolate. Please note: food colouring thickens the chocolate.
Make some “bees”. Put a small amount of the coloured white chocolate into a small piping bag, cut the very edge of it to make a tiny hole…
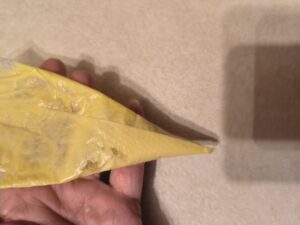
… and gently pipe out thin horizontal lines onto the chocolate-coated peanuts, imitating yellow stripes on the backs of the bees.
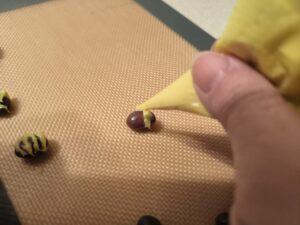
Make as many “bees” as you like.
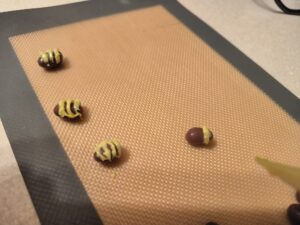
Now, break some almond flakes into smaller pieces of the shape of bees’ wings, and “glue” them to the sides of each “bee”. Your “bees” are ready!
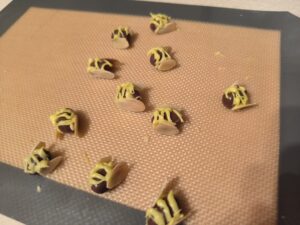
Now, create the honeycomb.
Spread the melted white chocolate over some babble wrap (its size should be a little smaller than the size of your cake). It could be not exactly of a round shape, but a bit asymmetrical, – it’s even better, as it would look more natural.
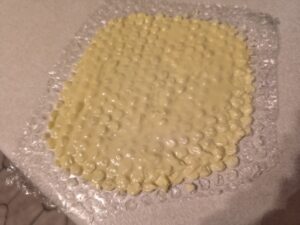
Put the bubble wrap on a hard surface, and put into a fridge for about 20 minutes.
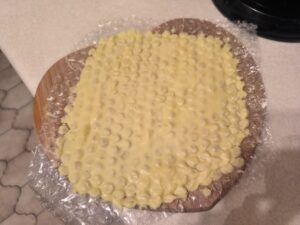
After 20 minutes, take the bubble wrap covered with the white chocolate, out of the fridge. Turn it over and place on the top of your cake (chocolate down, bubble wrap up), pressing gently.
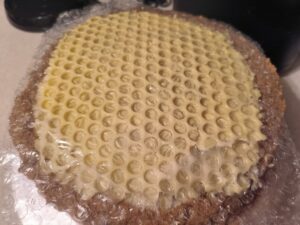
Now, remove the bubble wrap slowly and very carefully.
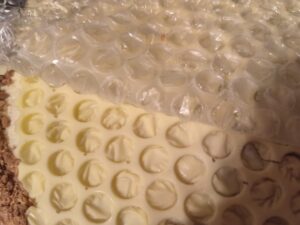
In place of bubbles, now there are small indentations.
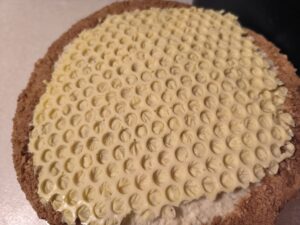
Put some honey into a small piping bag, cutting the edge to make a very small hole…
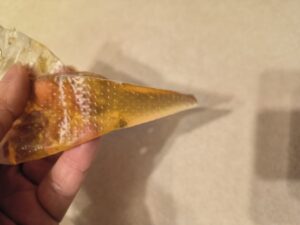
… and fill in the indentations with it. You could also fill some of them just a little, or half way, and leave some of them empty, it would look more natural.
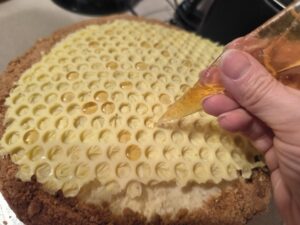
Your honeycomb is ready.
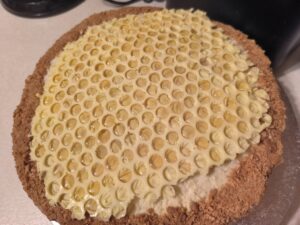
Place the “bees” randomly on top of the cake.

And your cake is now ready, and beautifully decorated 🙂
And it’s absolutely delicious too! 🙂 You can taste the honey, and even though there’s maybe a bit too little cream, the cake is far from being dry, as the base layers are very thin. The cake melts in your mouth! Enjoy 🙂
