I made a Red Velvet cake, using a classic recipe I adapted to my taste. Really recommend this version of Red Velvet, – the sponge turns out very soft and really velvety, and incredibly delicious. The cream is quite light and delicious too. I made this cake a few times, and all my family and friends who tasted it, keep asking for more.
For red sponge:
- Flour – 340 g
- Sugar – 300 g
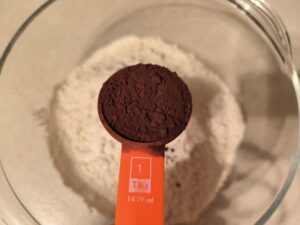
- Cocoa powder – 1 tbsp
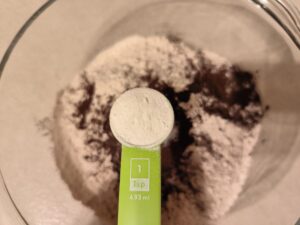
- Baking powder – 2 tsp
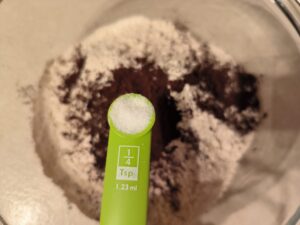
- Salt – 1/4 tsp
- Baking soda – 1 tsp
- Eggs – 3
- Vegetable oil – 300 g
- Kefir – 200 ml
- Double cream – 80 g
- Red food colouring – about 2 tsp (depending on how bright a colour you want)
For cream:
- Butter (soft, of room temperature) – 100 g
- Icing sugar – 100 g
- Philadelphia cheese (cold, straight from the fridge) – 350 g
Method is explained and illustrated below. Enjoy!
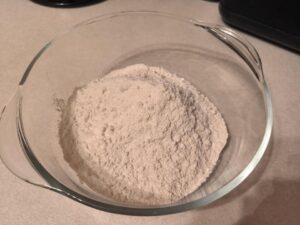
Place the flour into a bowl…
… add the cocoa powder…
… add salt…
…add baking soda and baking powder…
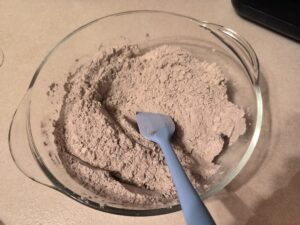
… mix together with a spatula, and keep aside.
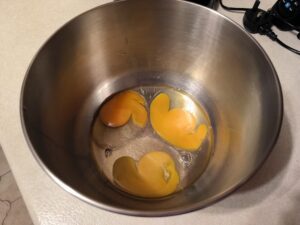
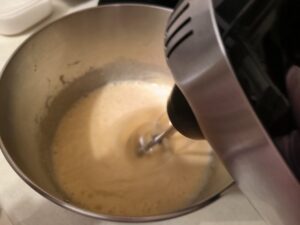
Place eggs into a whisking bowl…
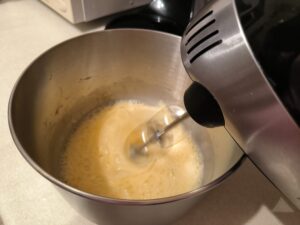
… and whisk well, until light and foamy.
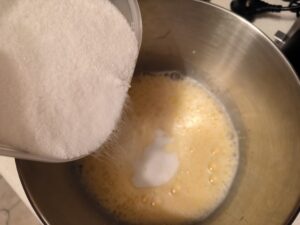
Add sugar gradually, in 2 or 3 parts…
… and whisk to mix it in.
You could also start pre-heating your oven to 170 C at this stage.
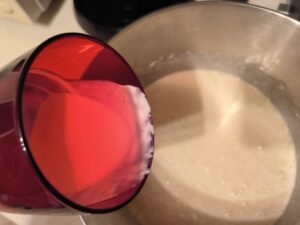
Add the cream…
… and kefir…
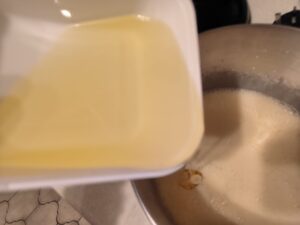
… and vegetable oil…
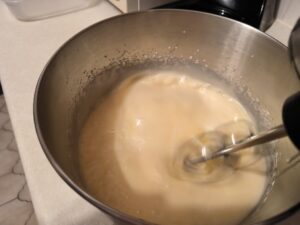
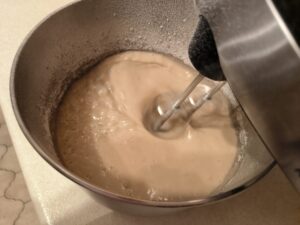
… and whisk it just to combine the mixture.
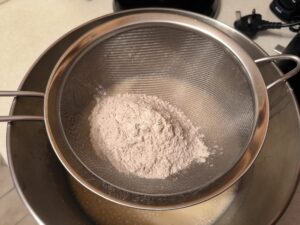
Gradually, in 3 or 4 parts, sift in the dry ingredients. First, just sift the 1st part in..
… and whisk it on a small speed, just to mix in.
Add the rest of the dry ingredients gradually, one part at a time, and whisk to mix well before you add another part.
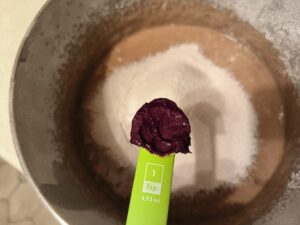
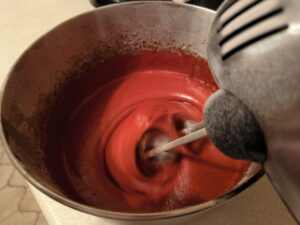
When you’ve added the last part, add the red food colouring…
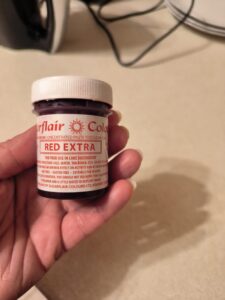
Choose your food colourings carefully. Not all food colourings are suitable for making the Red Velvet cake, as some food colourings would colour only cream/icing/fondant etc, – they can’t be used for colouring the cake batter that would be baked at high temperatures. Check the label of your food colouring carefully. If it says “heat sensitive, would discolour if baked”, then you can’t use it for your cake batter.
The food colouring I used, is Red Extra by Sugaflair. It’s very concentrated, and even very small amounts of it would colour the batter bright red.
… and whisk the batter at low speed, to mix together. You can also use a spatula.
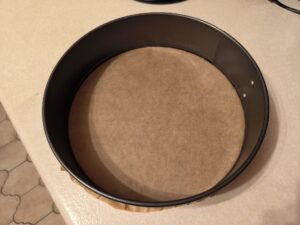
Prepare a baking tray. Cover the bottom of it with baking paper. There is no need to grease the sides of the tray.
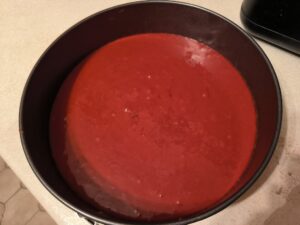
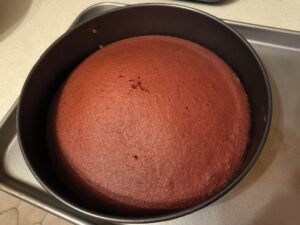
You can either bake the sponge at once and then cut it into 2 or 3 layers, or divide the batter into 2 equal parts and bake each part separately. I baked them separately, at 170 C for 20 minutes each.
Once your first layer is ready, take it out of the tray…
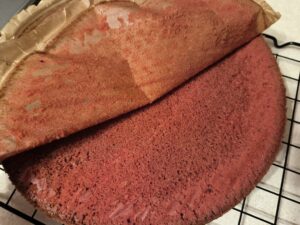
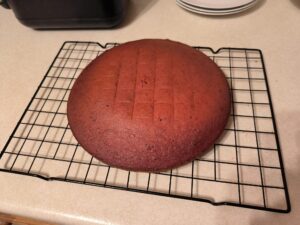
… place on the rack upside down, and gently pull the baking paper off the bottom. Then, bake a second layer in the same way…
… and cool it on the rack.
Now, make the cream.
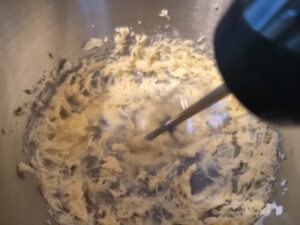
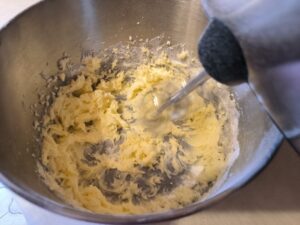
Whisk the butter (soft, of room temperature) until soft and fluffy…
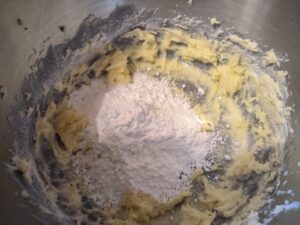
… add the icing sugar…
… and whisk well together until fully combined.
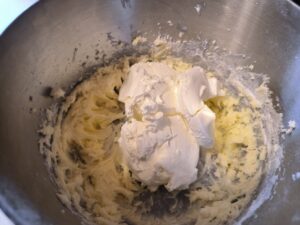
Add Philadelphia cheese…
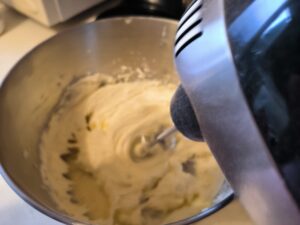
… and whisk together until fully combined.
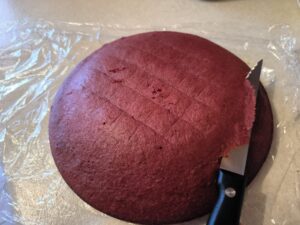
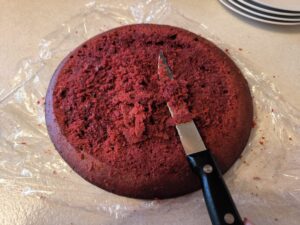
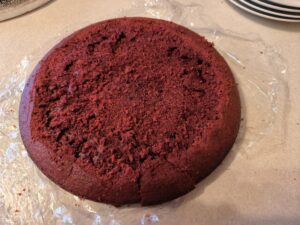
Cut the upper crust off each sponge layer…
…(be very careful, as the sponge layers are very soft and really velvety, and crumbles easily. Don’t worry to much about it, as you won’t need the upper layers, – you will need just the crumbs for decorating the cake).
Assemble and decorate your cake.
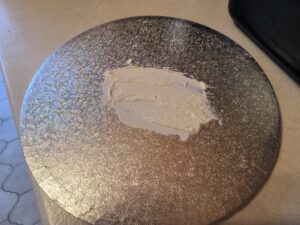
Take a cake base and put a small amount of cream onto it, – it will “glue” the cake to the base.
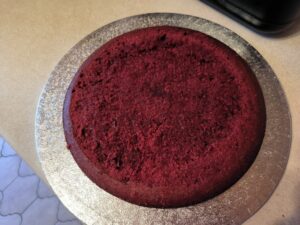
Place your bottom sponge layer onto the cake base…
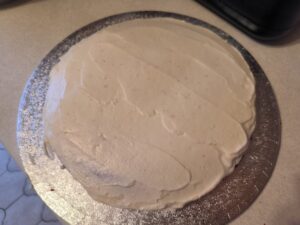
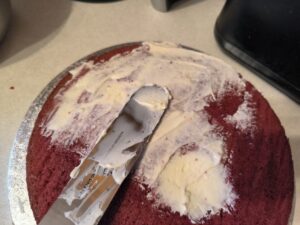
… and cover it with a cream layer.
Then, place a second sponge layer on top of it…
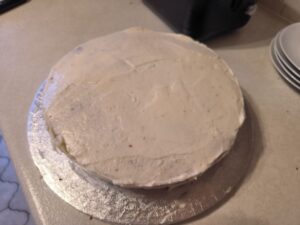
… and cover with the rest of the cream.
If you want to decorate your cake with crumbs, you don’t need to make the covering cream layer ideal, as the crumbs would cover it anyway.
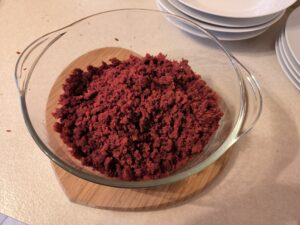
Now, break the upper crust you cut off each layer, into crumbs…
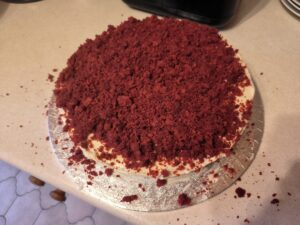
… and cover the top of your cake with them, distributing evenly and pressing gently, so the crumbs would stick to the cream layer. (Of course you can decorate the cake in any other way).
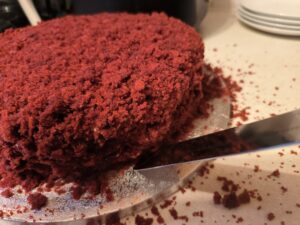
Cover the sides of the cake with crumbs too…
… pressing gently to “glue” the crumbs to the sides.
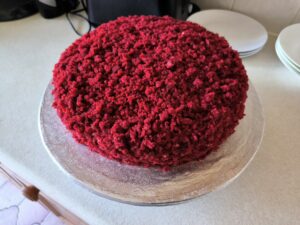
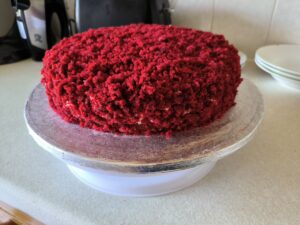
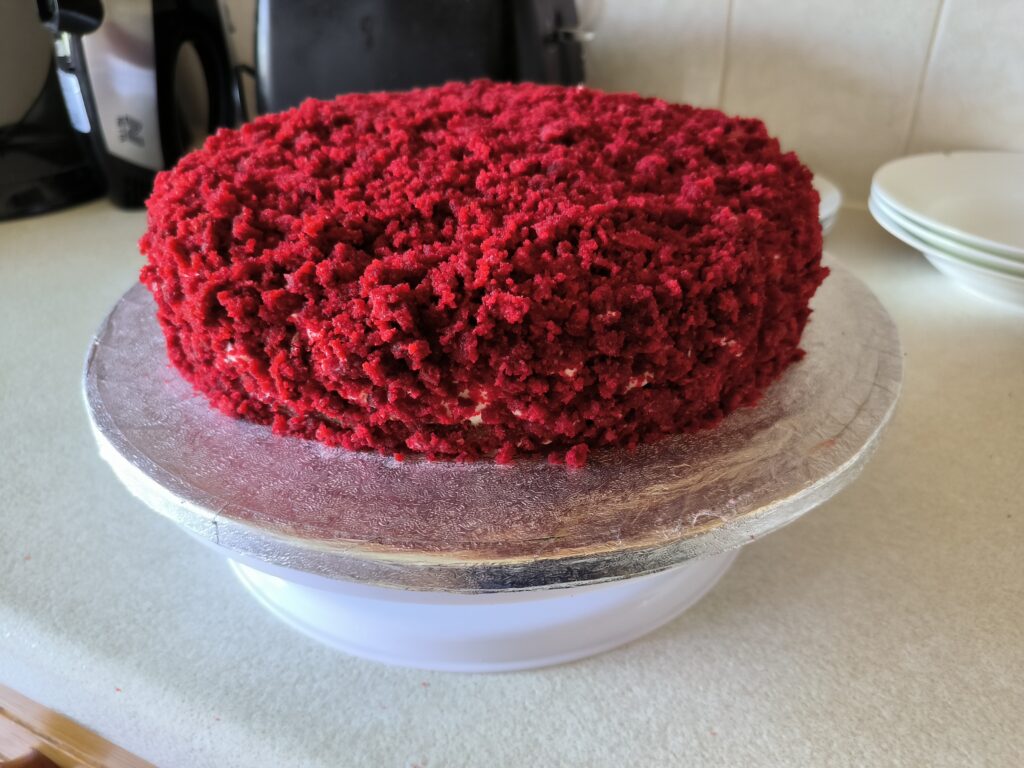
And here you go – your beautiful Red Velvet cake is ready!
It looks amazing…
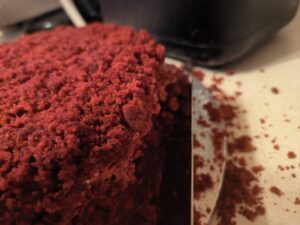
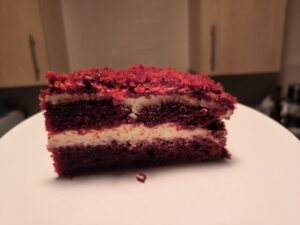
… and tastes absolutely delicious! The sponge is very soft and moist, really velvety, and the cream is light and delicious too.

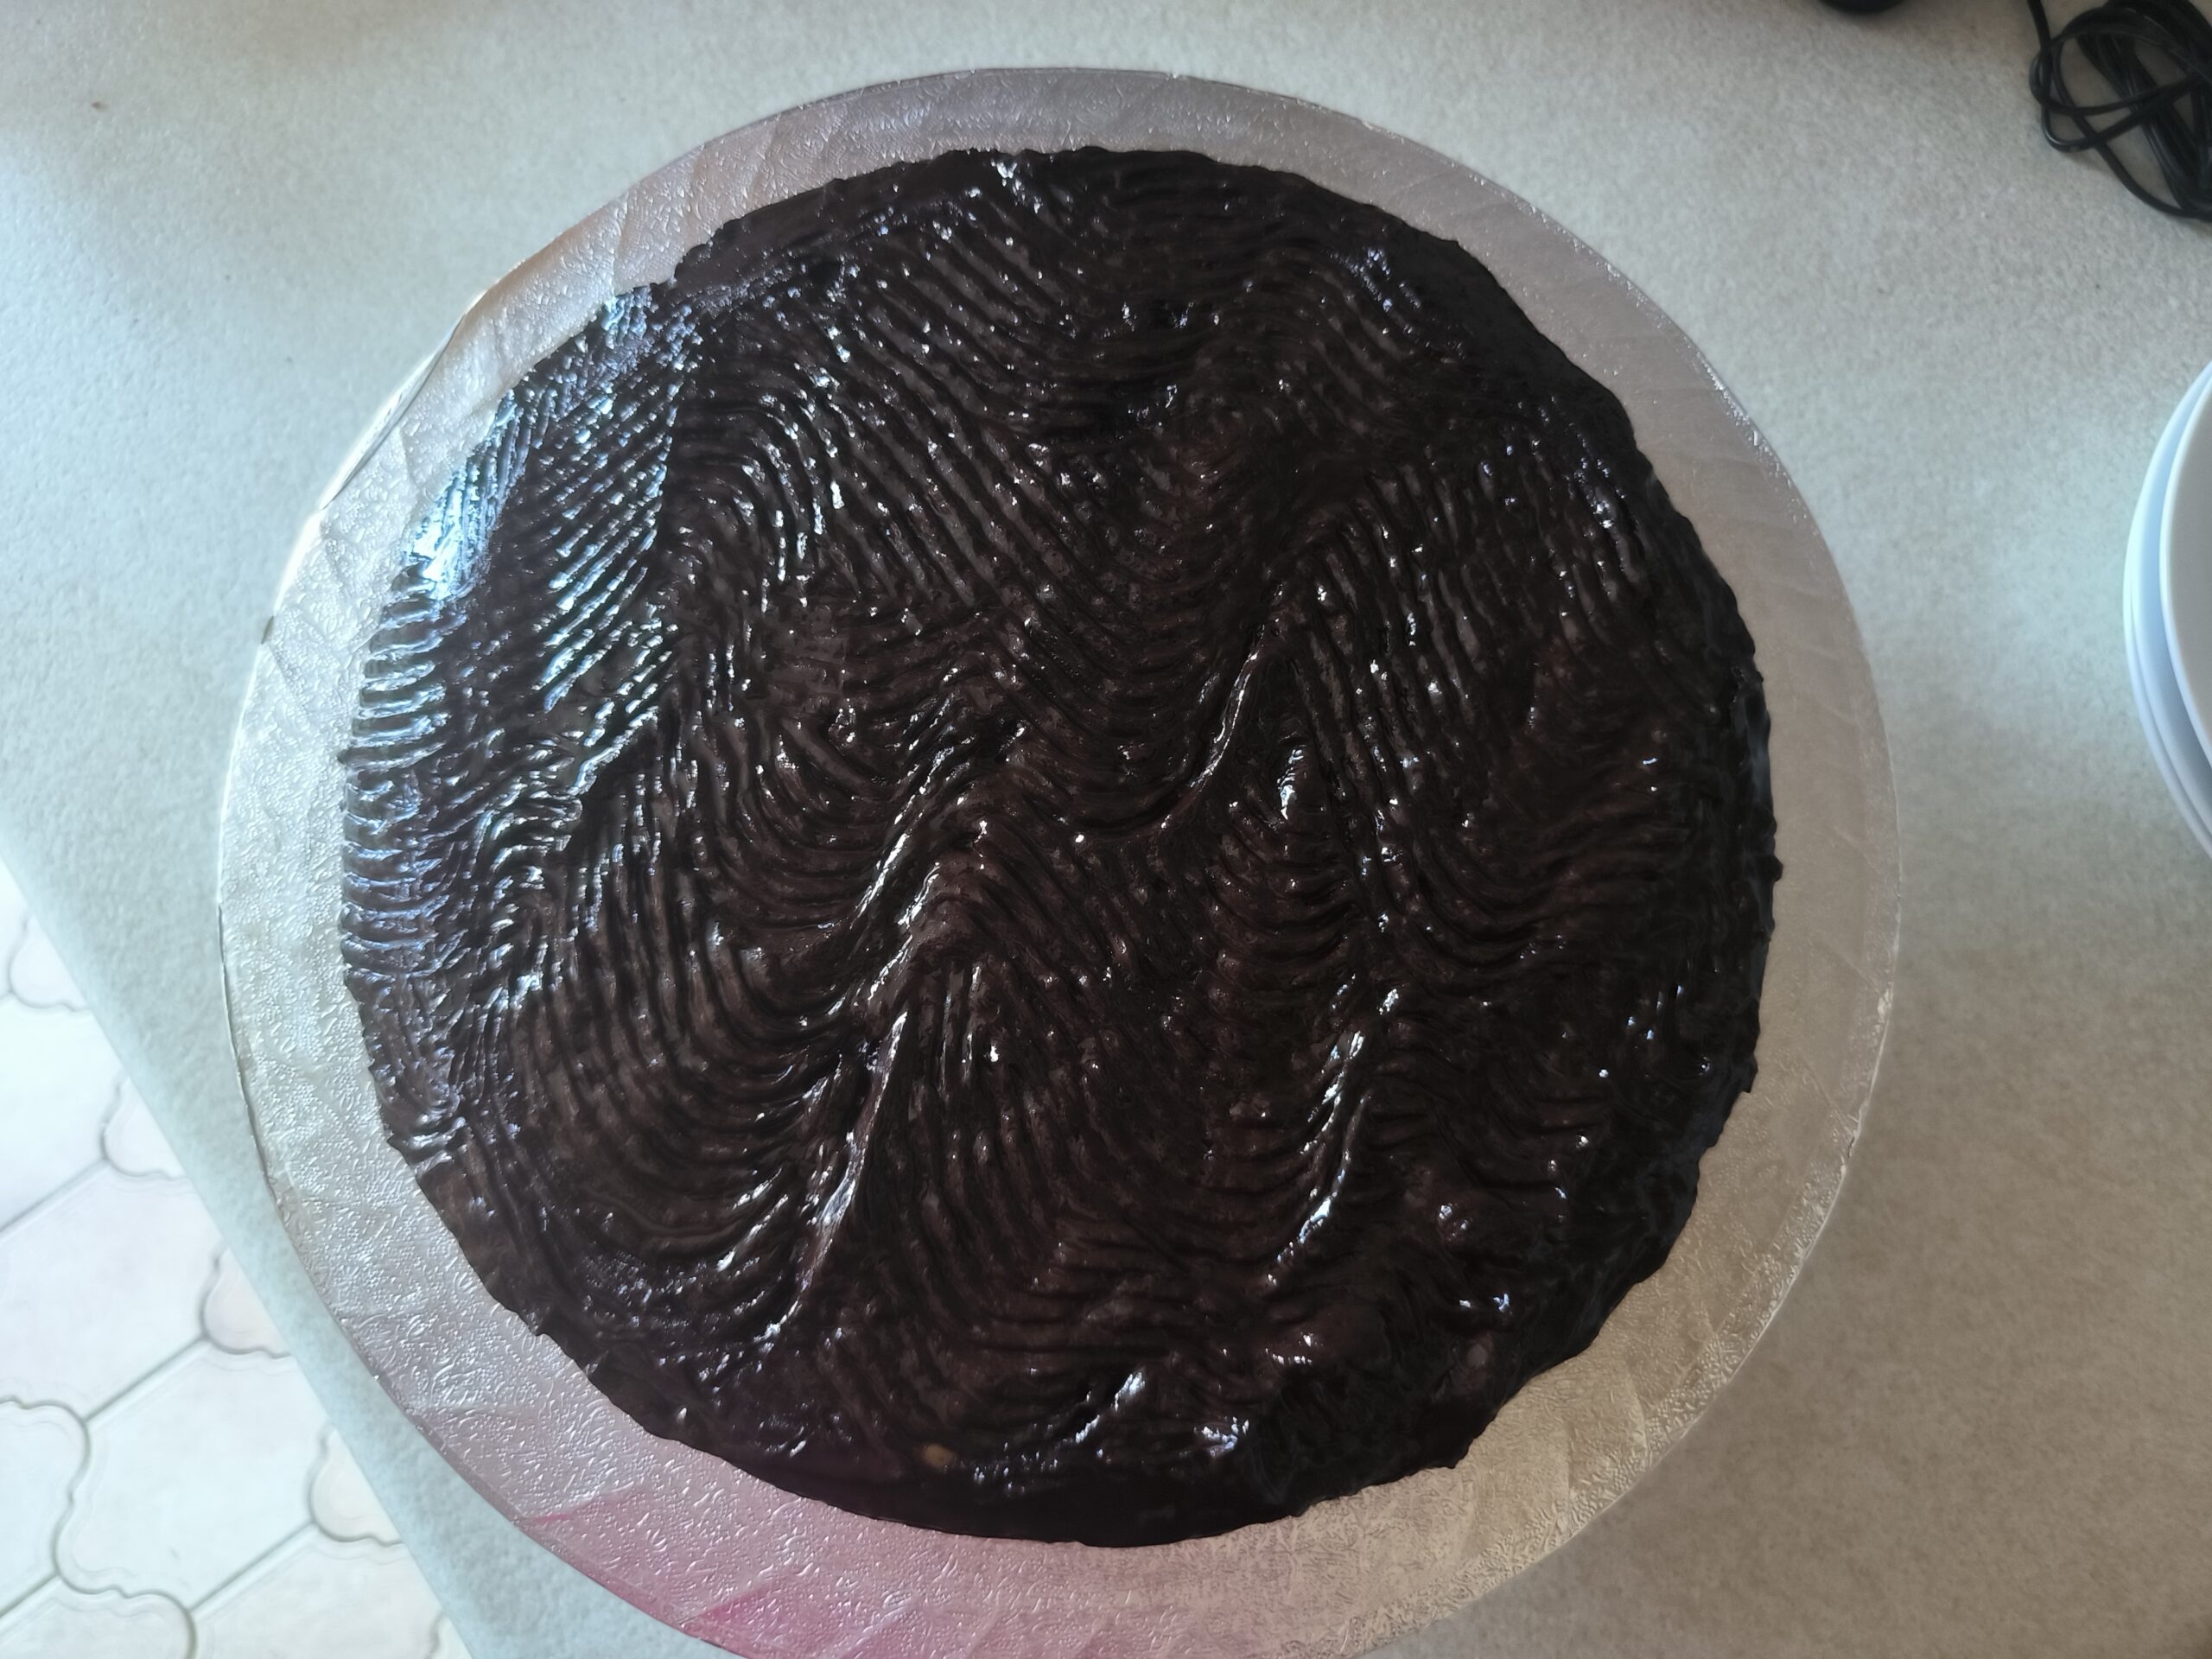
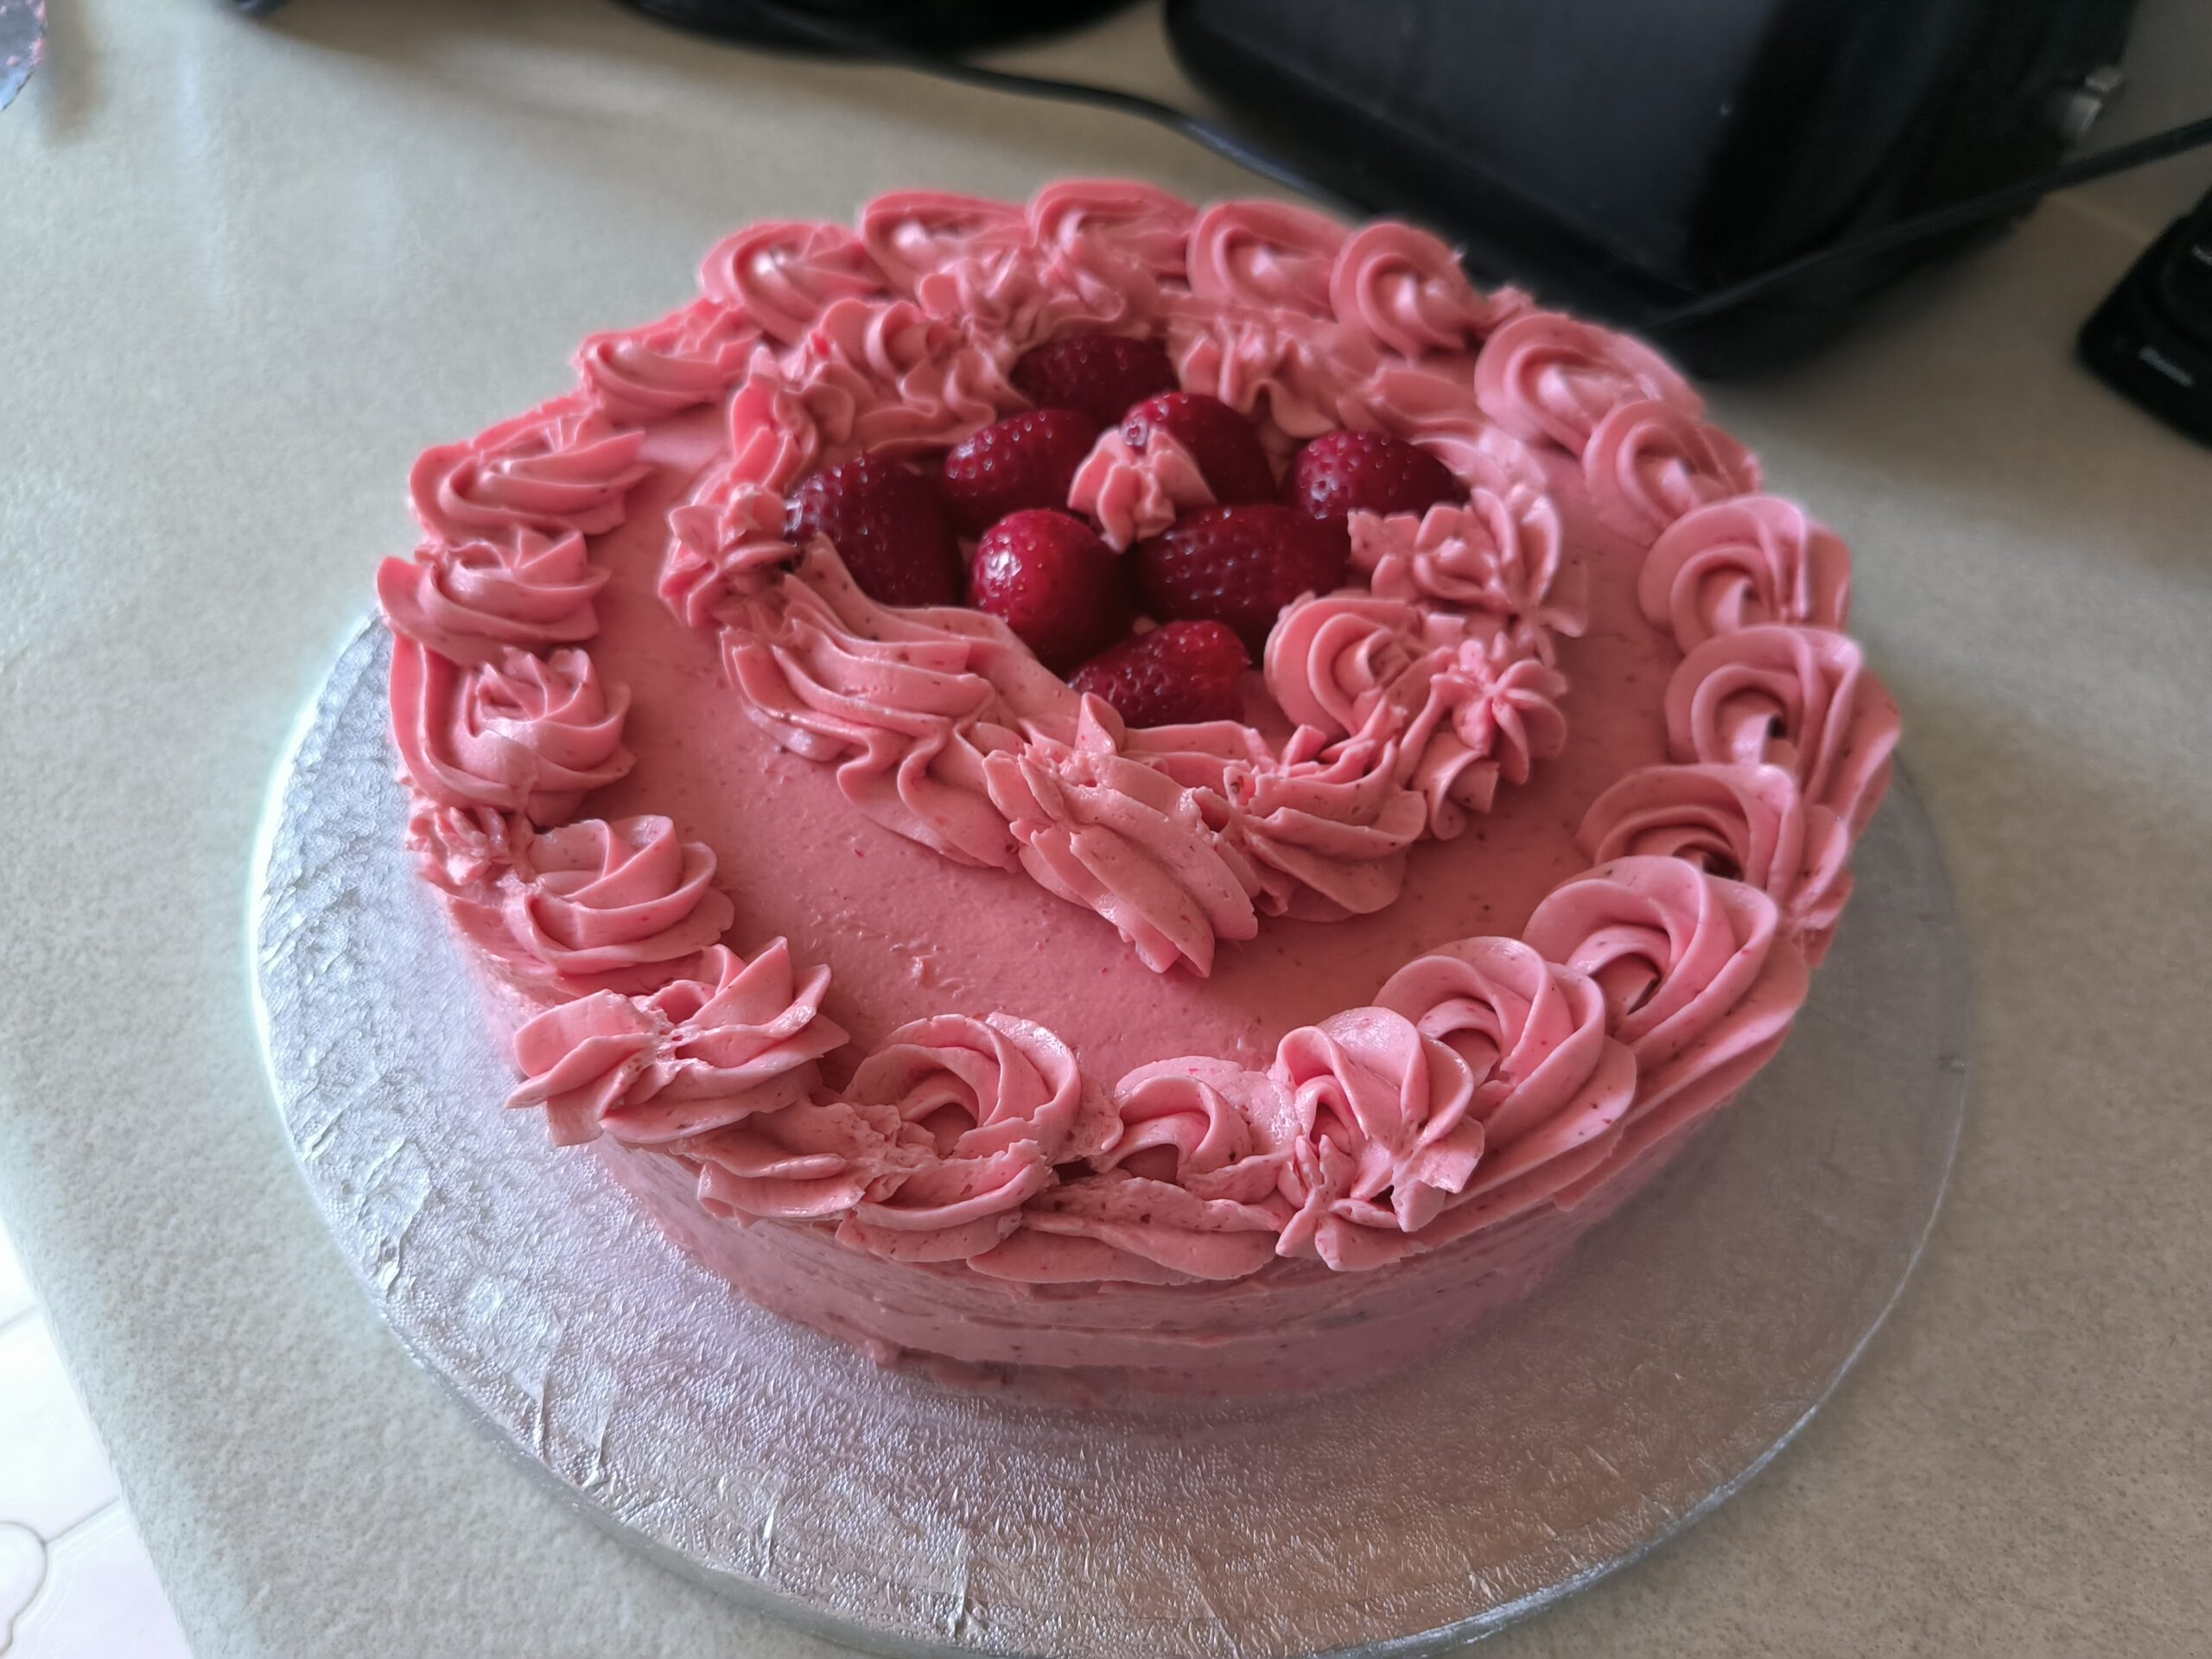
So glad I asked for this cake, one of the best ive ever tasted <3